
how to organize usb cables and phone chargers starts with a simple truth, most “cable chaos” is really a decision problem, not a storage problem. When every cord looks the same, has no home, and gets tossed wherever, you end up buying duplicates and wasting time.
This guide walks you through a practical system you can set up in an afternoon, with options for small apartments, family households, office desks, and travel kits. Nothing fancy, just the kind of organization that survives real life.
One quick note before we get tactical, you do not need to keep every cable you own. The biggest win usually comes from reducing what’s in the pile, then giving what remains a predictable place.
Start by sorting: keep, relocate, recycle, toss
If you try to organize cables without sorting, you will store clutter more neatly, but it still stays clutter. A fast sort also helps you spot what you actually use, and what belongs somewhere else.
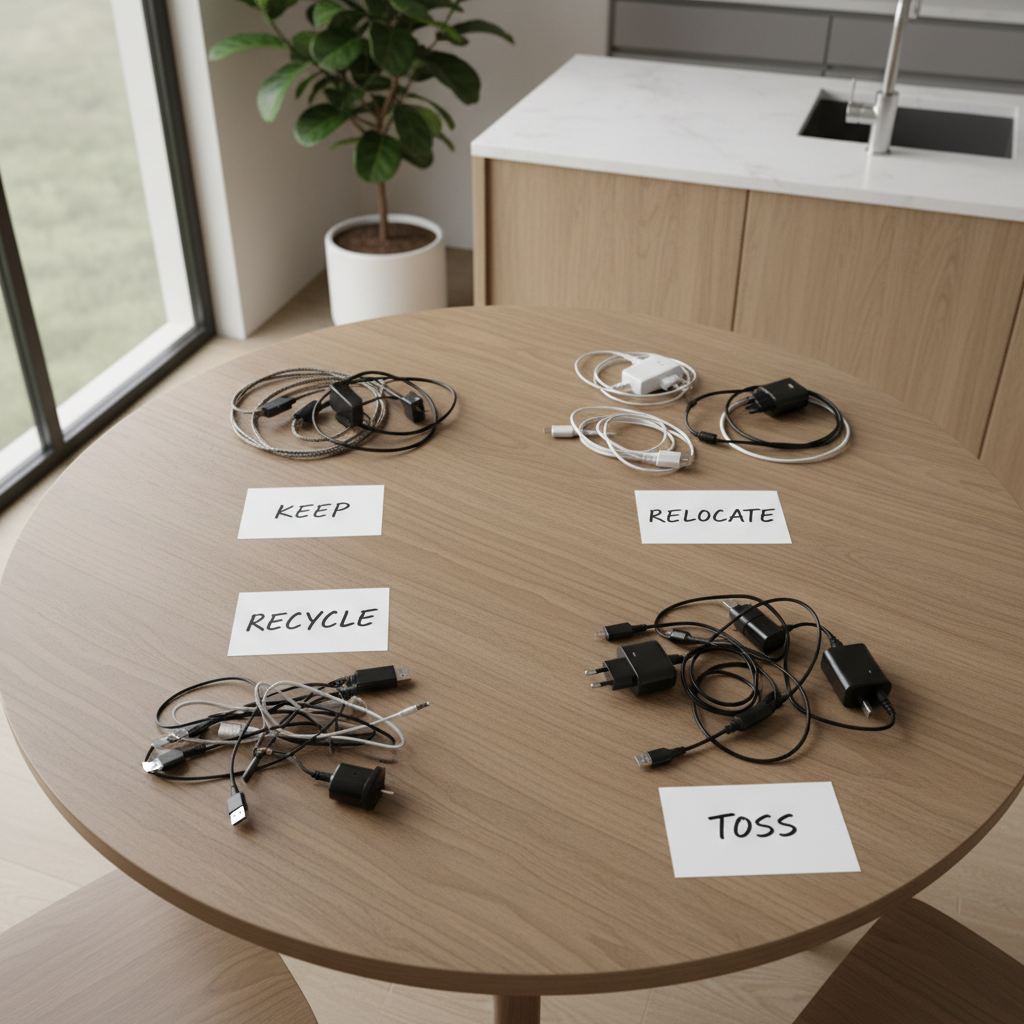
Quick sorting rules that work in most homes:
- Keep if you used it in the last 60–90 days, or it supports a device you still own.
- Relocate if it belongs with a specific item, like a camera, shaver, game controller, or laptop bag.
- Recycle if it is frayed, bent at the connector, or intermittently charges. Many electronics retailers and local programs accept e-waste.
- Toss only if it is truly broken and recycling is not available, e-waste is still better when possible.
According to U.S. Environmental Protection Agency (EPA), electronics should be reused or recycled through appropriate channels when possible, rather than discarded in regular trash. If you are unsure where to go, your city’s waste site usually lists drop-off options.
Identify what you own: types, lengths, and “who uses it”
Most people stop at “USB cable” and that’s where the confusion stays. Naming what you have makes the next steps almost automatic, especially when multiple people share chargers.
Common categories worth separating:
- USB-C to USB-C
- USB-C to USB-A
- Lightning (if you still use older iPhones or accessories)
- Micro-USB (older devices)
- Wall adapters (charging bricks)
- Multi-port chargers and power strips
Then add two extra labels in your head, length (short, medium, long) and owner (me, partner, kids, office). This prevents the classic “I have five cables but none where I need them” situation.
Choose your organization style (use this table)
There is no single right container, the best setup depends on how you live. If your cables move around a lot, you want portable kits. If your pain point is a messy nightstand, you want zones and simple restraint.
| Situation | What usually goes wrong | What tends to work |
|---|---|---|
| Nightstand charging | Cords fall behind furniture, extra bricks pile up | One multi-port charger, short cables, tray or small box |
| Desk or home office | Tangles, cables snag, visual clutter | Under-desk cable tray, Velcro ties, labeled spare bin |
| Family shared area | People swap chargers, things disappear | Charging station with labeled slots per person |
| Travel and commuting | Forgetting adapters, damaged connectors | Small pouch, one wall adapter, one backup cable |
| Storage closet “just in case” | Random bag of cords, duplicates | Clear bin, zip bags by type, discard schedule |
Build “charging zones” so cables stop migrating
If you only do one thing from this article, do this. A charging zone is a dedicated spot where cables live and stay, and where devices get charged. The goal is less movement, fewer lost adapters, and fewer impulse purchases.
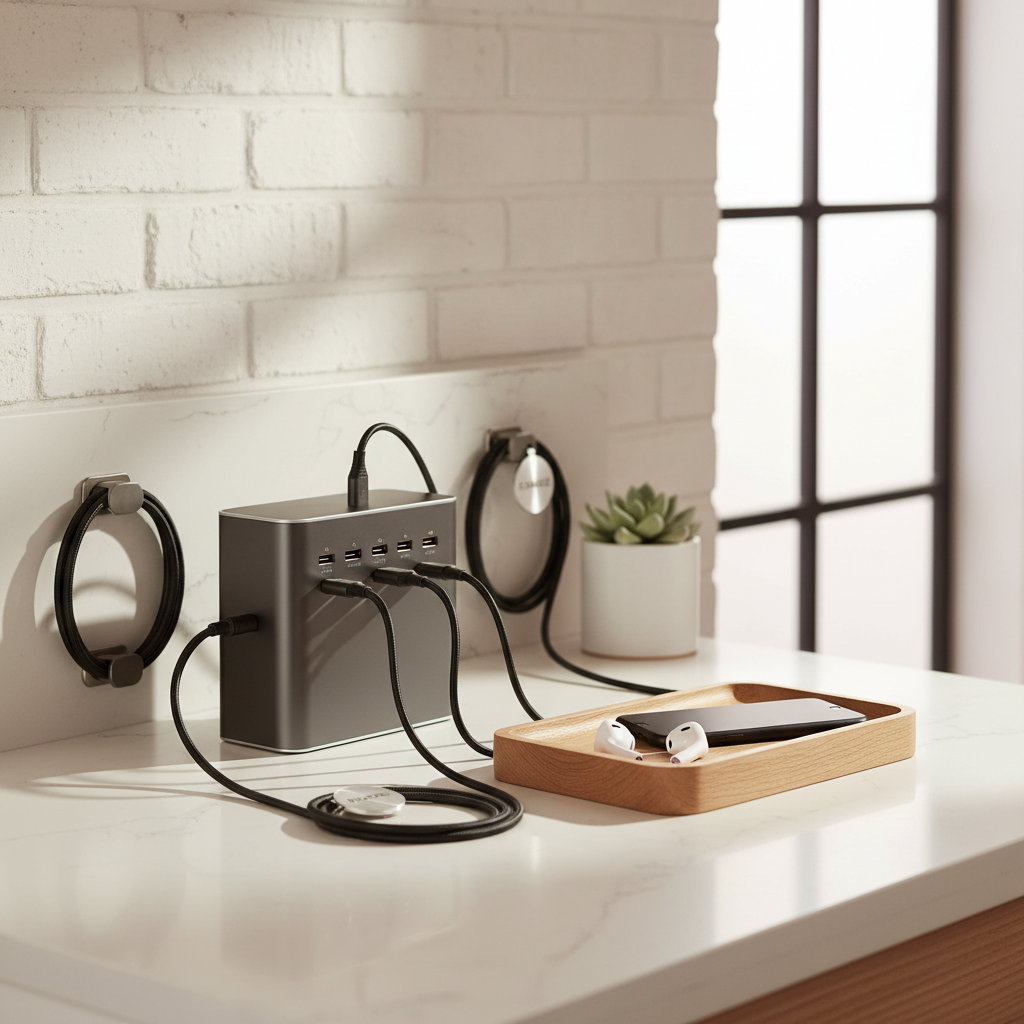
Good charging zones in most homes:
- Nightstand: 1–2 cables plus one adapter, nothing extra.
- Entryway or kitchen counter: a shared station for quick top-ups.
- Desk: your daily drivers and a clearly separated “spares” box.
Key point: keep “active” chargers out, and push “spares” into a bin. When spares sit next to active chargers, they become visual clutter and get mixed in.
Use a simple containment system: tie, label, store
This is the part people overcomplicate. You need three small habits, a way to keep a cable coiled, a way to identify it fast, and a place to put it back.
Coil without damaging the cable
A loose coil plus a Velcro tie is usually kinder than tight wraps. Avoid bending sharply near the connector, that’s where fraying and internal breaks often start. If a cable already feels “crunchy” or kinked at the end, consider recycling it.
Label in plain English
Labeling sounds fussy until you try it for a week. Use small tags or masking tape and write what it does: “USB-C laptop 100W”, “iPhone car”, “Kindle”. If you share a home, add a name.
Store by use frequency
- Daily: stays in the zone, not in a drawer.
- Weekly: a small nearby bin or drawer organizer.
- Rare: closet bin, clearly labeled, reviewed every few months.
How to organize usb cables and phone chargers in common real-life scenarios
Most searchers are not organizing a museum display, they just want the mess to stop. Here are a few setups that tend to hold up in day-to-day use.
Apartment or small space
- Pick one shared charging zone, limit it to 3–5 cables.
- Use a slim pouch for overflow, store it in the same drawer every time.
- Choose shorter cables for the nightstand, long cables create floor tangles.
Family household
- Create “one slot per person” with a small labeled basket or divider.
- Keep one communal multi-port charger, but keep personal cables labeled.
- Set a rule that spare adapters live in one bin, not scattered around.
Desk with lots of gear
- Route the main power and charging lines once, then stop moving them.
- Keep only one or two extra cables in a top drawer, not a whole bundle.
- Use a different container for video cables vs charging cables to avoid mix-ups.

Travel kit
- One wall charger, one short cable, one medium cable, that’s enough for many trips.
- Add a small adapter only if your devices require it.
- Retire travel cables sooner if they get heavy daily bending and stuffing.
Common mistakes that keep the mess coming back
Some organizing choices feel productive but create friction, and friction is what makes people stop maintaining the system.
- Keeping “mystery cables” with no device attached. If you cannot identify it in two minutes, it usually becomes permanent clutter.
- One giant drawer for everything. It turns into a knot again because items have no sub-categories.
- Too many backup chargers in prime locations. Backups belong in storage, not on the nightstand.
- Over-tight wrapping around the adapter body, which can stress the cable near the connector.
Key takeaways:
- Reduce first, then store what remains.
- Build zones so chargers have a home, not a “temporary spot.”
- Label for humans, not for aesthetics.
When it’s worth getting help or upgrading your setup
If you see heat buildup, scorch marks, or a charger that smells like burnt plastic, stop using it and consider asking a qualified professional if you suspect an outlet or power strip issue. Charging issues can be caused by cables, adapters, or the power source, and guessing can waste time.
It can also be worth upgrading if your life has outgrown random bricks, for example, switching to a reputable multi-port charger for a shared zone, or replacing older, failing cables rather than fighting intermittent charging.
Conclusion: a system that stays organized beats a perfect one
Most people do not need a complicated organizer to fix cable clutter, they need fewer cables, clearer homes, and labels that remove guessing. If you want a clean reset, do the quick sort today, then set up one charging zone you can maintain without thinking.
If you take one action after reading, pick a single drawer or basket for “spares,” label your daily cables, and commit to putting them back for a week, that usually locks the habit in.
FAQ
How do I organize USB cables if I don’t know what they’re for?
Test them one by one with your main devices, then label immediately. If a cable remains unidentified after a quick test window, many households do better recycling it rather than keeping a growing mystery pile.
What’s the easiest way to keep phone chargers from tangling in a drawer?
Coil each cable loosely and secure it with a Velcro tie, then store by type in small zip bags or a drawer organizer. The divider matters more than the container style.
Should I keep extra charging bricks?
Usually one or two spares is enough per household zone, plus one travel spare if you commute. Keeping many extras in active areas often creates confusion and slows you down.
How can I set up a family charging station that kids will actually use?
Give each person a labeled spot and keep the rules simple, plug in here, cables stay here. If the station feels crowded or messy, reduce it to the most-used devices and move spares to a bin.
Is it safe to use a frayed cable if it still charges?
It may still charge, but damage near the connector can worsen and create safety risks. It’s generally smarter to replace it, and if you’re unsure about electrical safety in your space, consider consulting a qualified professional.
How often should I declutter chargers and cables?
Many people find a quick review every 3–6 months works, especially after holidays or new device purchases. The goal is to prevent the “backup pile” from quietly doubling.
What’s the best way to store long cables?
Long cables behave better when they have their own category. Coil them in larger loops, secure with a tie, and store them separately from short daily cables so they don’t dominate the drawer.
If you’re trying to organize a whole home worth of cords and it still feels like they multiply overnight, you may prefer a more streamlined setup with fewer, clearly labeled chargers and a simple zone-based layout, it’s less pretty than Pinterest, but it tends to work better in real routines.