
Best wall mounted coat hooks for entryway shopping usually starts after the same annoying moment, coats slide off chairs, bags end up on the floor, and the hallway feels messy even when the rest of the home is fine.
The good news is coat hooks are a small fix that can change the way an entryway works, but only if you pick the right style and install it the right way. A pretty hook that loosens in drywall or a “heavy-duty” hook with tiny screws will waste your time.
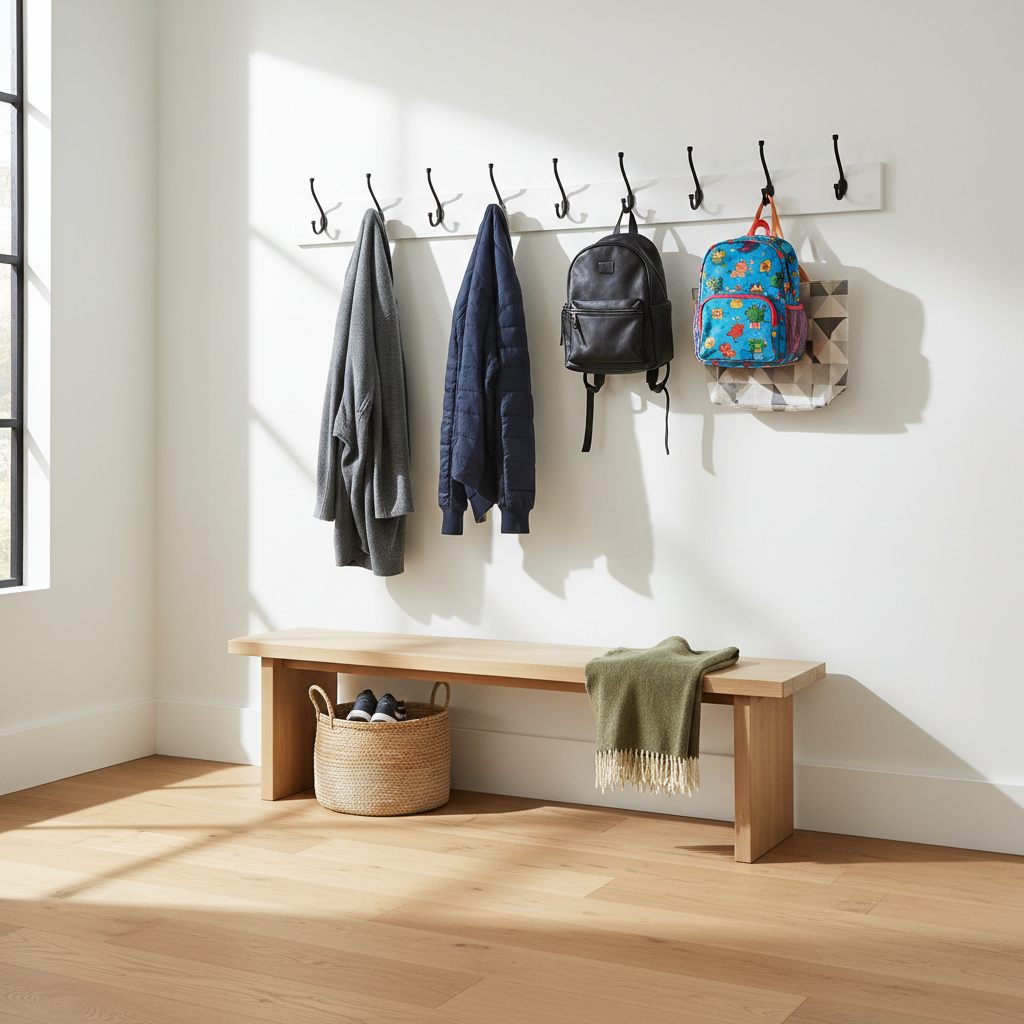
This guide breaks down what matters in real homes, weight capacity, kid use, wet coats, tight hallways, then gives a short checklist and practical install steps so your hooks feel solid from day one.
What actually makes a coat hook “best” for an entryway
In most entryways, the “best” hook is the one that matches your traffic pattern and your wall type, not the one with the nicest product photo. Here are the traits that tend to matter most.
- Real holding power: look for clear weight ratings, but treat them as “best case” unless you mount into studs or solid blocking.
- Projection and spacing: deeper hooks prevent items sliding off, wider spacing prevents coat shoulders bunching and smelling musty.
- Hook shape: a rounded tip is kinder to knits, a double-prong holds backpacks plus a hat, a wide saddle works for thick straps.
- Finish durability: entryways see keys, zippers, wet umbrellas, salty winter gear, powder coat and stainless often handle this better than soft plating.
- Install flexibility: hidden mounting plates look cleaner, but can be picky about screw placement and anchors.
According to the American Wood Council, properly selected fasteners and connections are key to structural performance, which is a fancy way of saying your hook is only as strong as the wall and screws behind it.
Quick pick guide by household and hallway scenario
If you want a fast answer, choose based on who uses the hooks and what they hang. These “profiles” cover most U.S. entryways.
Busy family with backpacks
Go for double-prong or wide single hooks on a backer board or a hook rail mounted into studs. Backpacks create a leverage effect that can loosen small screws over time.
Small apartment hallway
A slim hook rail (multiple hooks on one board) usually beats individual hooks because you can hit studs more easily and keep alignment tidy in a tight space.
Wet coats, snow gear, umbrellas
Prioritize corrosion resistance and drip control. Consider hooks paired with a boot tray below, and leave extra spacing so gear dries faster.
Rental where you want minimal wall damage
Look for systems that spread load across multiple anchors, or use a rail with several screw points. If your lease is strict, it may be worth confirming what anchors are allowed before you drill.
Materials, finishes, and why they matter more than you think
Material isn’t just aesthetics, it affects wear, rust, and how “solid” the hook feels.
- Stainless steel: tends to resist rust in humid climates and near exterior doors, good for wet coats and umbrellas.
- Powder-coated steel: common for matte black or white, usually durable, but chips can happen if keys bang into it daily.
- Zinc alloy (cast): often used for decorative hooks, can be fine, but quality varies a lot across brands.
- Solid wood rails: great warmth and style, but still depends on proper mounting and a hard finish near doors.
For coastal areas or mudrooms, I usually lean toward stainless or a good powder coat, because entryways are rough on finishes in ways product listings don’t mention.
How many hooks you need and the spacing that keeps it usable
Most people underestimate spacing, then wonder why coats fall off. A simple approach works well.
- Adults: plan roughly 6–8 inches per hook if you expect bulky coats.
- Kids: closer spacing can work, but install a lower row so they actually use it.
- Backpacks and totes: give extra room or choose wider hooks so straps don’t slide off.
Height is personal, but many homes do well with hooks around shoulder height for adults, plus a lower set for kids. If you only do one row, you may still keep a stool nearby, but that’s usually when the floor pile starts again.
Comparison table: common wall-mounted hook types
Use this as a sanity check before you buy. The “best wall mounted coat hooks for entryway” choice is often a type decision more than a brand decision.
| Type | Best for | Pros | Watch-outs |
|---|---|---|---|
| Single hook (individual) | Custom layouts, wider spacing | Flexible placement, easy to replace | Harder to hit studs for every hook |
| Double-prong hook | Backpacks + coats | Holds more per spot, reduces slipping | Can snag delicate knits if edges are sharp |
| Hook rail / rack | Most entryways and families | Even alignment, easier stud mounting | Less flexible if you later change layout |
| Flip-down / folding hooks | Narrow hallways | Cleaner look when not in use | Moving parts can loosen, check reviews carefully |
| Overbuilt “industrial” hooks | Heavy gear, garage entry | Usually very strong hardware | Can look bulky in a front entry |
Self-check: are your walls and screws the real problem?
Before blaming the hook, confirm what you’re mounting into. This is where many installs go sideways.
- You’re mounting into drywall only and hanging backpacks, the hook may pull out over time.
- You have old plaster, standard drywall anchors may not bite as expected.
- The hook wiggles even when empty, usually a sign screws are too short, stripped, or not hitting solid material.
- There’s a hollow sound where you want to mount, likely no stud, so you’ll need a rail, better anchors, or a different location.
According to the International Code Council (ICC), building codes emphasize safe, durable construction methods. For a simple project like hooks, the practical takeaway is to choose fastening methods appropriate to the wall assembly, and when in doubt, mount into studs.
Installation steps that keep hooks from ripping out
If you want your setup to feel like it came with the house, install matters as much as the hardware.
1) Decide: studs, anchors, or a backer board
- Best case: screw into studs.
- Still solid: use a hook rail that spans studs.
- When studs don’t line up: use high-quality wall anchors rated for the load and wall type, and keep expectations realistic for heavy bags.
2) Choose screws like you mean it
Many hook sets include short screws that are fine for display, not daily use. If you’re going into a stud, longer screws often help, but match screw size to the mounting holes and avoid splitting wood trim.
3) Pre-drill and level
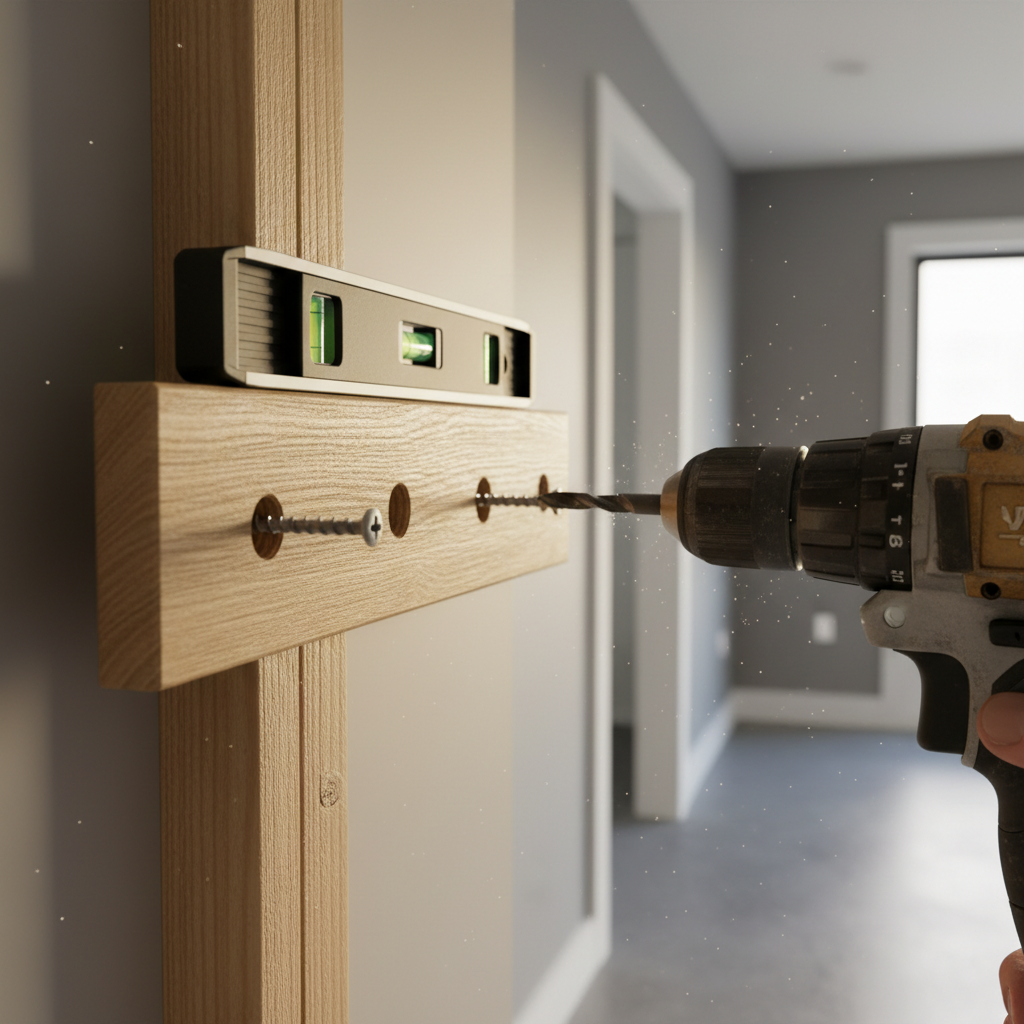
Pre-drilling reduces the chance of splitting a wood rail and makes screws seat tight. A slightly crooked rail is the kind of thing you notice forever, so take the extra minute with a level.
4) Test with realistic weight
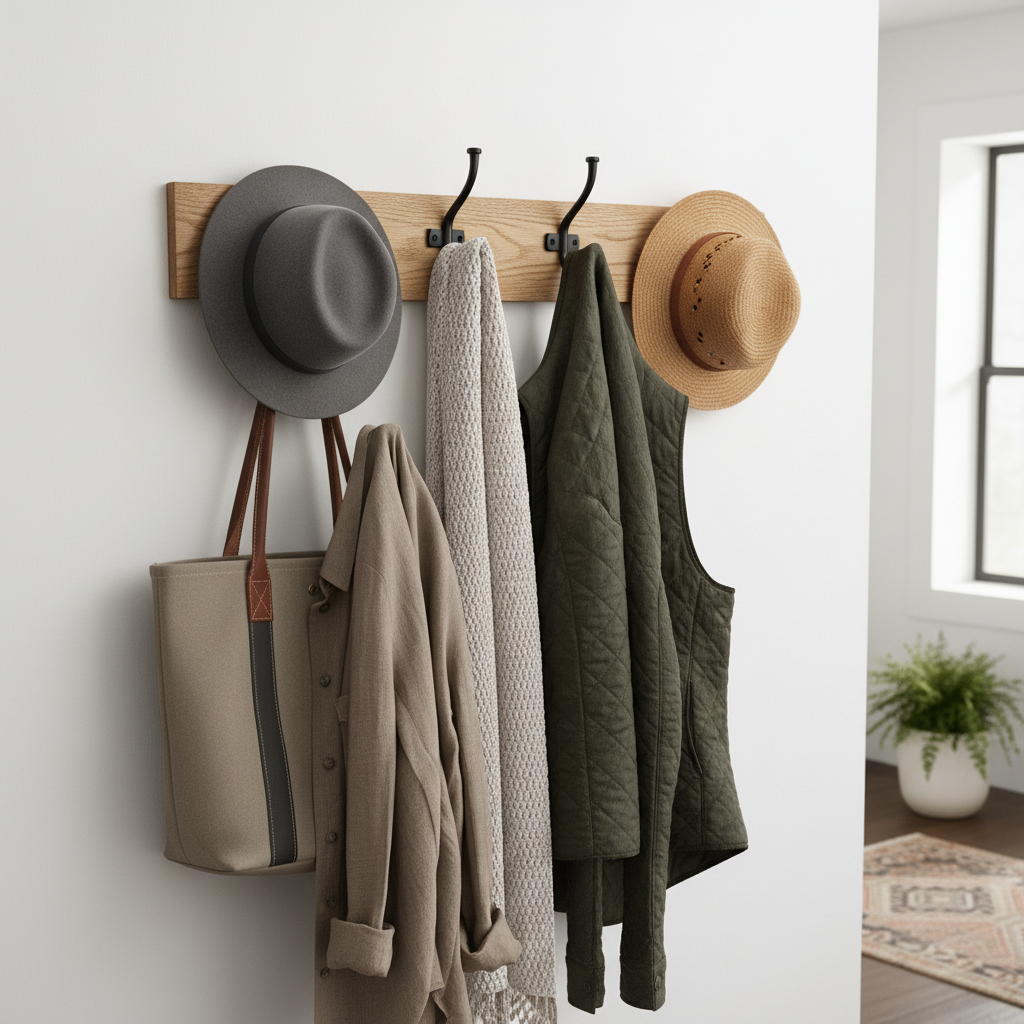
Don’t stop at a gentle tug. Hang the heaviest bag you’ll actually use, then recheck after a week. If anything loosens, fix it early before the wall gets damaged.
Common mistakes (and what to do instead)
- Buying for looks only: decorative hooks can work, but confirm mounting plate size and screw strength.
- Too few hooks: families often do better with “more hooks than you think,” because it prevents double-hanging and slipping.
- Mounting too high: if kids can’t reach, they won’t use it, and you’ll still have clutter.
- Ignoring door swing: make sure coats won’t block the door or get caught in hinges.
- Assuming all anchors are equal: match anchors to drywall, plaster, tile, or masonry, and follow the manufacturer instructions.
When it’s worth getting professional help
If you’re drilling into tile, masonry, or you suspect electrical wiring or plumbing in the wall, it may be safer to consult a licensed handyman or contractor. The cost is often lower than repairing cracked tile or hitting something you shouldn’t.
Also consider help if the wall is crumbly plaster, the entryway is part of a fire-rated corridor in a multifamily building, or you’re installing a large backer board that needs clean, secure fastening.
Key takeaways and a simple recommendation
If you want a reliable starting point, a stud-mounted hook rail with double-prong hooks tends to be the most forgiving choice for real entryways, especially with backpacks and winter coats. If you can’t hit studs, use a rail to spread the load, or choose lighter-duty expectations for individual hooks in drywall.
Your next step can be simple: check your wall type, pick a hook style that matches what you hang most, then install it like it needs to last for years, because it probably does.
FAQ
- What are the best wall mounted coat hooks for entryway use with heavy backpacks?
Look for double-prong hooks or wide hooks on a rail that can be screwed into studs. Backpacks stress the mounting more than a jacket does. - How much weight can a wall coat hook hold in drywall?
It depends on the anchor type and drywall condition, and ratings can be optimistic. If you regularly hang heavy items, mounting into studs is usually the safer bet. - Are coat hook rails better than individual hooks?
In many entryways, yes, because rails make it easier to align hooks and secure the system into studs. Individual hooks work well when you control spacing and have solid backing. - What height should I install coat hooks in a hallway?
A common approach is adult shoulder height for the main row, plus a lower row for kids if needed. Door swing and walkway clearance matter as much as “standard” height. - Do I need to find studs for wall mounted coat hooks?
For light coats, anchors may be fine. For backpacks, multiple items per hook, or daily heavy use, studs or a stud-spanning rail tends to reduce wall damage and loosening. - What finish is best for hooks near an exterior door?
Stainless steel or quality powder-coated finishes often handle moisture better. If you get wet coats often, give items more spacing to dry and reduce rust risk. - How do I stop hooks from loosening over time?
Use appropriate screws, tighten to a snug fit without stripping, and recheck after the first week of use. If you see movement, address it early rather than overtightening repeatedly.
If you’re trying to choose between a few options and want a more “set it and forget it” result, shortlist hook rails that clearly state mounting hardware specs and weight guidance, then match them to your wall type and what your household actually hangs every day.