
How to organize jewelry with drawer inserts comes down to two things, giving every piece a “home” and making that home easy to see at a glance, so you stop digging, untangling, and re-buying things you already own.
If your jewelry lives in a bowl, a travel pouch, or a crowded tray, the problem usually isn’t that you need more storage, it’s that the storage has no structure, chains catch, posts snag, and small items disappear into corners.
This guide walks through realistic drawer layouts, insert types, and a simple setup process you can finish in an afternoon, plus a few “don’t bother” moves that look nice on Pinterest but rarely hold up to daily use.
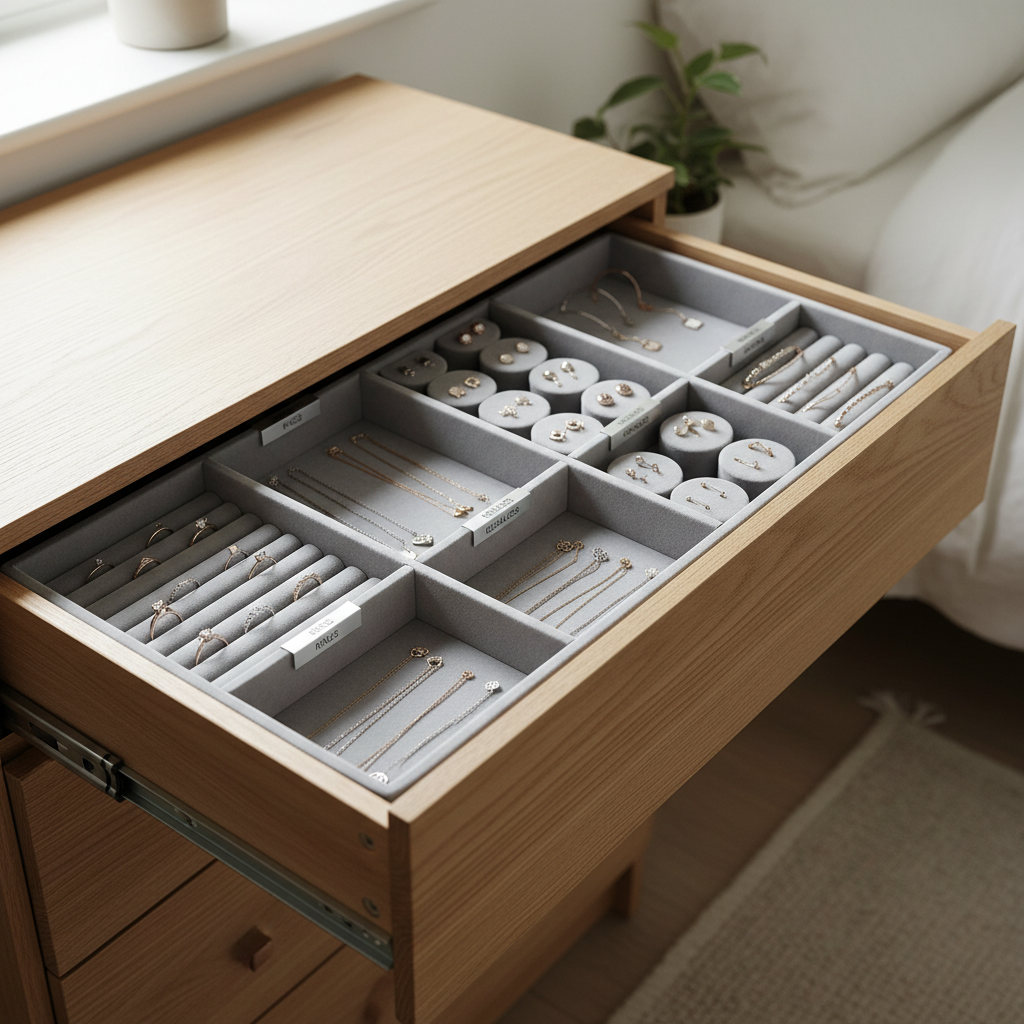
Why jewelry gets messy in drawers (and why inserts fix it)
Most “messy jewelry” drawers have the same few friction points, and inserts work because they remove those points instead of asking you to be more careful.
- Chains tangle because they share contact points, one clasp grabs another and suddenly everything becomes a knot you avoid touching.
- Small pieces migrate, studs, earring backs, and thin rings slide into gaps, then you assume they’re lost.
- Visual clutter creates decision fatigue, when you can’t see options clearly, you default to the same two pieces.
- Mixed materials scratch, metals rubbing against each other or stones bumping into clasps leaves wear you didn’t plan for.
Drawer inserts create stable compartments, limit movement, and keep like-with-like, which is the real trick behind how to organize jewelry with drawer inserts without turning it into a weekly project.
Quick self-check: what kind of jewelry drawer do you have?
Before you buy anything, figure out what you’re organizing for. The “right” insert is less about aesthetics and more about what you actually wear and how often you access it.
- Daily rotation drawer: 10–25 pieces you grab constantly, needs speed and visibility more than maximum capacity.
- Collection drawer: lots of occasional pieces, needs clear categories and protection from scratching.
- Mixed drawer: jewelry plus watches, hair accessories, or sunglasses, needs zones and taller compartments.
- Travel-heavy setup: you’re in and out of the drawer, needs secure compartments that don’t toss items around.
Fast test: if you can’t find a matching earring in 20 seconds, or you avoid necklaces because they tangle, your drawer needs more separation, not more space.
Choose drawer inserts that match your pieces (not just the drawer)
There are a lot of insert styles, and the most common mistake is choosing based on “looks organized” instead of “fits my jewelry.” Use the table to narrow it down.
| Jewelry type | Insert style that usually works | What to watch for |
|---|---|---|
| Rings | Ring rolls (velvet or faux suede) | Roll spacing too wide makes slim bands tip over |
| Stud earrings | Small grid compartments or earring cards in a tray | Too-deep compartments hide small studs |
| Hoops & statement earrings | Medium compartments (2–3 in wide) | Shallow trays can make hoops stack and tangle |
| Necklaces | Long, narrow sections; individual channels; necklace bars in drawer | Shared compartments invite tangles, especially fine chains |
| Bracelets | Open compartments; watch pillows for rigid bangles | Clasped chains catch on textured liners |
| Watches | Watch pillows or deeper compartments | Hard metal against hard metal scratches quickly |
Materials matter too. Fabric-lined inserts tend to reduce sliding and scratching, acrylic trays boost visibility, and bamboo or wood trays look great but can be slippery unless lined.
According to the Federal Trade Commission (FTC), precious metals and gemstones can be sensitive to misuse and misrepresentation in care claims, so be cautious with “miracle” cleaners or coatings and stick to care guidance from the jeweler or manufacturer when you’re unsure.
Step-by-step: set up a jewelry drawer that stays organized
This is the part people overcomplicate. You do not need to declutter your entire collection perfectly before you begin, but you do need a basic plan so you don’t rebuild the same mess inside nicer trays.
1) Empty the drawer and sort into “use” groups
Make four piles on a towel: rings, earrings, necklaces, bracelets/watches. Then split each pile into two mini-piles: weekly wear and occasion. That alone tells you what deserves prime front-row space.
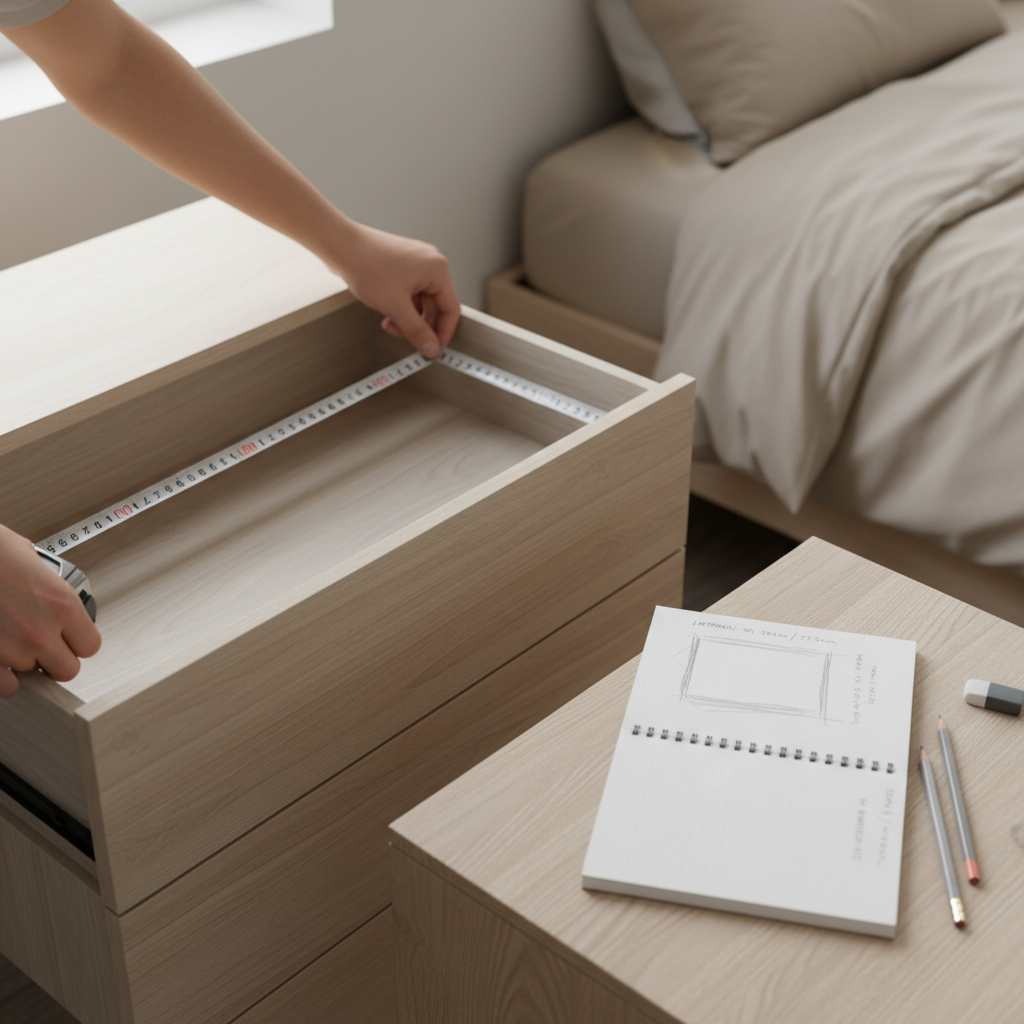
2) Measure the usable interior, not the drawer label
Measure inner width, depth, and the height you can actually use once the drawer closes. Many inserts sit higher than you think, especially ring rolls.
3) Create zones, then fill with inserts
Think in zones, not individual trays. A setup that tends to hold up:
- Front zone: daily pieces, easiest reach, highest visibility.
- Middle zone: categories you rotate, like hoops, bracelets, watches.
- Back zone: occasional jewelry, extras, spare backs, polishing cloth.
4) Deal with necklaces intentionally (they’re the troublemakers)
If necklaces are your main pain point, give them priority. Many cases do better with long channels or individual sections. If you must share a compartment, group by chain thickness and keep pendants facing the same direction to reduce snagging.
5) Add “micro-control” for tiny items
Studs, earring backs, nose rings, and small charms love escaping. A small lidded box, a pill case, or a mini-compartment tray inside the drawer sounds fussy, but it prevents the slow drift into chaos.
Key point: how to organize jewelry with drawer inserts works best when your insert layout matches your morning habits, not an ideal version of you who color-codes everything.
Layouts that work (pick one and copy it)
If you’re stuck, borrow a layout and adjust later. These are common “good enough” patterns that don’t require custom carpentry.
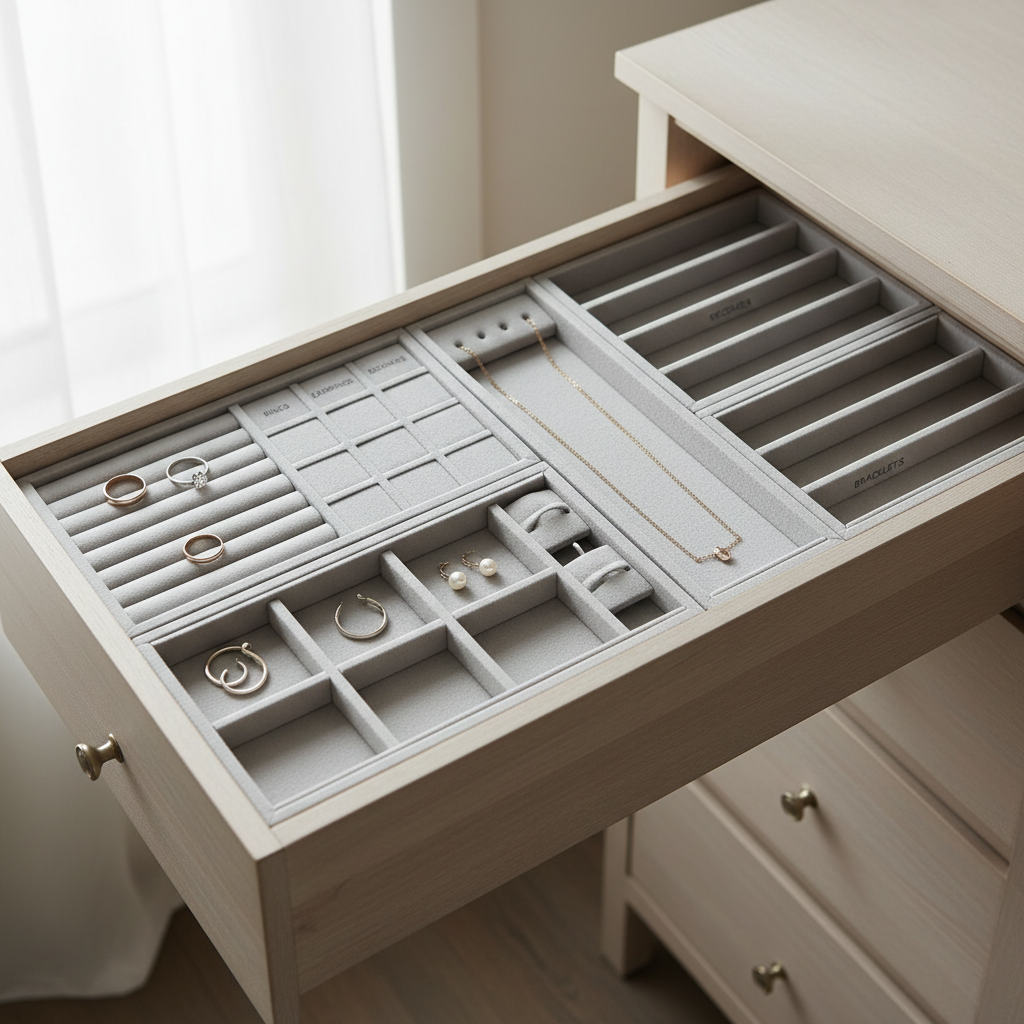
Layout A: The everyday capsule
- 1 ring roll tray (front-left)
- 1 small grid tray for studs (front-right)
- 1 medium compartment tray for hoops + bracelets (middle)
- 1 long channel for 5–10 necklaces (back)
Layout B: The necklace-first drawer
- Two long trays with dividers for chains (full depth, left side)
- One medium tray for earrings and rings (right side)
- Small lidded box for backs and delicate pieces (back-right corner)
Layout C: The “I own a lot” drawer
- Stackable trays only if the drawer is deep enough and you don’t mind lifting a tray
- Top tray: daily pieces, bottom tray: occasion pieces
- Necklaces separated in their own long tray to avoid compressing chains
Mistakes that quietly ruin an organized drawer
These are the issues that make people think inserts “don’t work,” when the real issue is mismatch or friction in the system.
- Buying inserts before measuring, even half an inch off creates gaps where items slide and disappear.
- One giant open tray, it looks tidy for a day, then it becomes a jewelry soup again.
- Overstuffing ring rolls, rings lean, rub, and you stop putting them back neatly.
- Using slippery liners under trays, trays drift when you open and close the drawer, which slowly breaks your category boundaries.
- Storing tarnish-prone pieces in humid spots, bathroom-adjacent storage can speed discoloration for some metals.
If humidity or tarnish is a recurring issue, consider moving the drawer location or adding a small desiccant pack designed for storage, and if you’re unsure what’s safe for your materials, asking a jeweler is usually a quick win.
When to consider professional help or specialty storage
Most homes do fine with off-the-shelf inserts, but a few scenarios justify more tailored solutions.
- You store fine jewelry with high value, and you want lockable drawers or a safe insert system.
- You have lots of heirloom or fragile pieces that need individual separation and gentler handling.
- You’re dealing with skin sensitivities and need to isolate certain metals, a professional jeweler or dermatologist can advise on safe wear and storage practices.
According to the American Academy of Dermatology Association (AAD), contact dermatitis from jewelry can happen for some people, often tied to metal exposure, so if you notice persistent irritation, it’s worth checking in with a qualified clinician.
Conclusion: keep it visible, separated, and realistic
How to organize jewelry with drawer inserts is less about finding the perfect product and more about building a drawer that matches your routine, clear zones, enough compartments to prevent tangles, and a front area that makes daily choices easy.
If you want one action today, measure your drawer and set up two zones, daily wear in front, everything else behind it. Once that works for a week, upgrading inserts becomes a straightforward decision instead of a guess.
FAQ
How do I keep necklaces from tangling in drawer inserts?
Use long, narrow channels and avoid stacking chains in one pocket. If you have fine chains, give each chain its own section or separate by thickness so clasps don’t catch.
Are acrylic jewelry drawer inserts better than velvet ones?
Acrylic makes it easier to see items quickly, velvet or suede-like liners reduce sliding and can be gentler on finishes. Many drawers work best with a mix, visibility for earrings, softer material for rings and watches.
What if my drawer size is “in between” standard trays?
Go modular and plan for intentional gaps, then fill gaps with a small lidded container or a narrow catchall tray. Random gaps are where studs and backs vanish, so it’s worth controlling them.
How many compartments do I actually need?
Enough that your most-used categories don’t pile up. A practical rule is one compartment per “type you grab,” not per individual item, then add a few smaller sections for tiny pieces.
Can I organize jewelry with drawer inserts if I share a drawer with accessories?
Yes, but treat it like a zoned drawer. Keep jewelry in lined trays, and keep hair accessories or sunglasses in taller compartments so they don’t crush delicate chains.
How do I store earrings so I stop losing backs?
Give backs a dedicated micro-container inside the drawer, and keep pairs together in small compartments. If you often switch earrings, having a “back-up backs” spot prevents the slow mismatch problem.
Should jewelry be stored in the bathroom?
Many people do, but moisture can be a problem for some materials. If you notice faster tarnish or discoloration, moving storage to a drier room usually helps, and a jeweler can give material-specific advice.
If you’re trying to get a drawer under control fast, a modular insert set that mixes ring rolls, small grids, and a couple of long channels often gives the most flexibility, especially if you’re still learning what you wear most week to week.