
how to clean quartz shower walls from water spots comes down to two things: removing mineral residue without scratching the surface, and changing the routine so spots stop coming back every day.
If you have quartz in a shower, you’ve probably noticed the same pattern, it looks great right after cleaning, then a dull film or peppery white dots show up again, especially where water hits and dries. That’s usually hard-water minerals, sometimes mixed with soap scum, and it can make quartz look older than it is.
This guide walks you through quick diagnosis, a safe step-by-step clean, and a realistic maintenance plan. I’ll also call out what not to do, because quartz is tough, but the wrong products can still damage the finish.
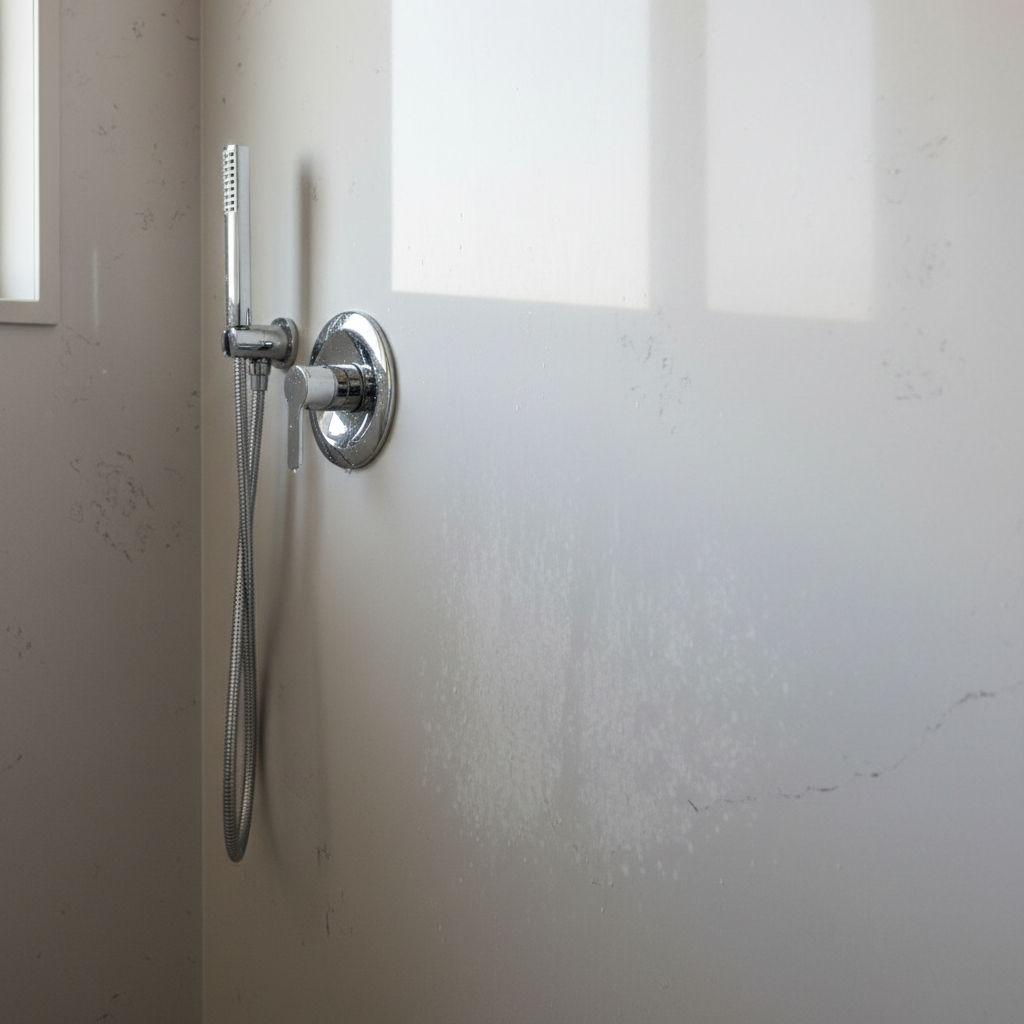
What those “water spots” really are (and why quartz shows them)
Most water spots are mineral deposits left behind when water evaporates, mainly calcium and magnesium. If your shower water is hard, this happens fast, and the hotter the shower, the faster minerals bake onto surfaces.
Quartz is an engineered stone, it usually has a smooth, uniform finish, which sounds like it should hide spots, but the opposite often happens: minerals sit on top as a visible haze, and dark or mid-tone quartz makes the contrast more obvious.
- Hard-water minerals: chalky dots, a white outline around droplets, or a cloudy veil.
- Soap scum: greasy, dull film that smears when you wipe it.
- Product buildup: conditioner, body oils, and “bathroom shine” sprays can create streaks that trap minerals.
According to the U.S. Environmental Protection Agency (EPA), hard water contains higher levels of dissolved minerals such as calcium and magnesium, which commonly create scale and spotting on surfaces.
Quick self-check: what type of spots do you have?
Before you pick a cleaner, get clear on what you’re removing. This saves you from escalating to harsh products when a mild approach would work.
30-second test (no special tools)
- Wipe a small area with warm water and a drop of dish soap. If it clears briefly but returns after drying, you’re likely seeing minerals underneath a film.
- Run your fingertip across the spot. If it feels slightly gritty, that points to mineral scale.
- Look at the pattern. If it’s heaviest in splash zones and around fixtures, that’s classic hard-water spotting.
When to be extra cautious
- If the quartz looks duller in one patch even when wet, that could be finish damage or etched resin from an incompatible cleaner, don’t keep “scrubbing harder.”
- If you don’t know the brand or warranty terms for the quartz panels, treat them like countertop quartz: gentle cleaners, non-abrasive tools.
Safe supplies to clean quartz shower walls (and what to skip)
You don’t need a cabinet full of sprays. You do need the right friction level and a cleaner that won’t leave residue.
What typically works well
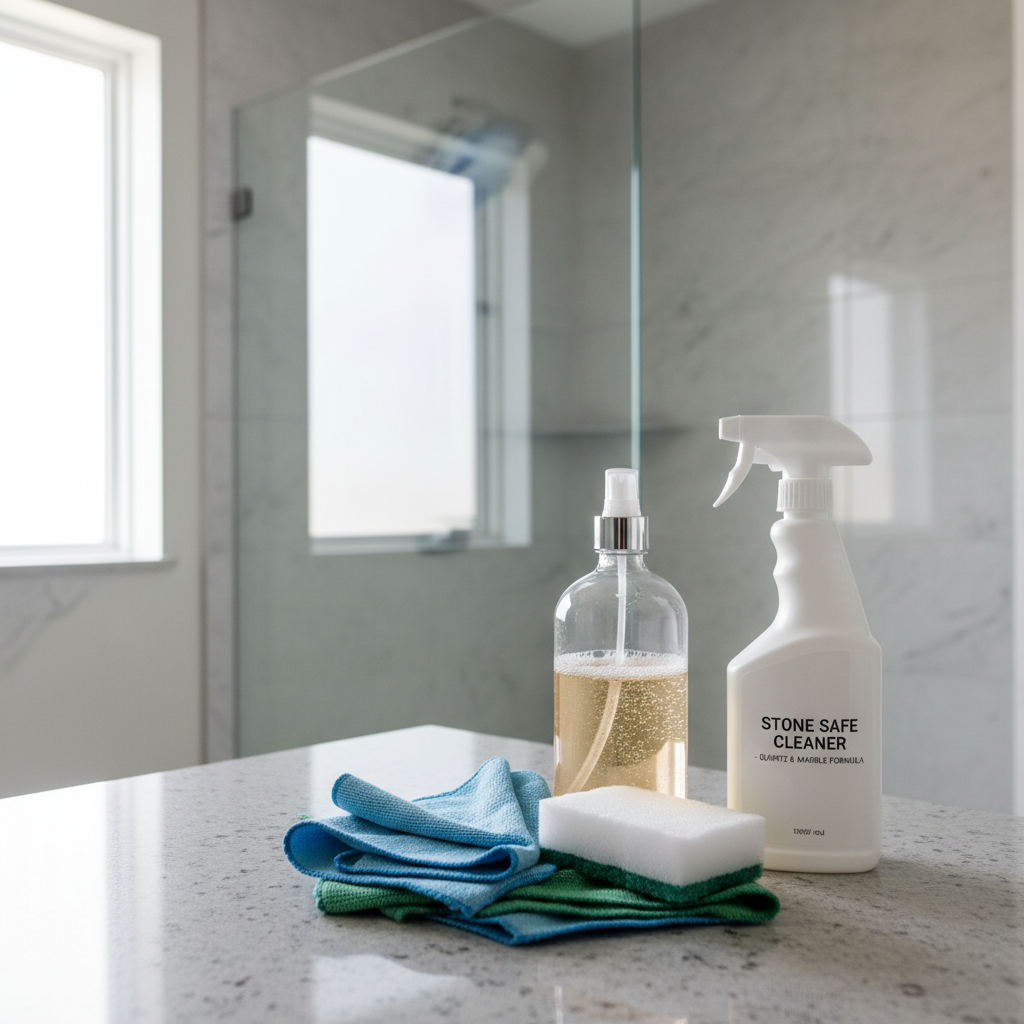
- Microfiber cloths (a few, so you can swap to clean ones)
- Non-scratch sponge (no “scrub” coating)
- pH-neutral dish soap
- Warm water in a spray bottle
- Optional: a quartz-safe cleaner labeled for engineered stone
- Optional: 70% isopropyl alcohol for oily film (spot use, then rinse)
What often causes trouble on quartz
- Abrasive powders and gritty pastes that can dull the surface
- Steel wool or melamine “magic” sponges, which can micro-scratch some finishes
- Strong acids or alkaline degreasers used repeatedly, especially if the product label warns against stone
- Leaving any cleaner to dry on the wall, even “gentle” ones can streak
According to the Natural Stone Institute, it’s generally safer to use pH-neutral cleaners on stone surfaces and avoid acidic or abrasive products that may damage finishes. Quartz isn’t natural stone, but that same cautious mindset helps prevent dulling and residue problems.
Step-by-step: how to clean quartz shower walls from water spots
This method aims to remove film first, then address minerals, so you’re not grinding deposits across the surface.
Step 1: Pre-rinse and soften
Rinse the wall with warm water, then mist more warm water over the spotted areas. Give it 2–3 minutes. Softening deposits reduces the urge to scrub aggressively.
Step 2: Remove soap and body-oil film
Mix a few drops of dish soap into a spray bottle of warm water, spray a manageable section, wipe with a microfiber cloth, then rinse. If the wall feels “squeaky” but not sticky, you’re in a better place to tackle minerals.
Step 3: Target remaining mineral spots carefully
If spots remain, use a quartz-safe product intended for scale or water-spot removal only if the label allows engineered stone. Apply to the cloth, not directly to the wall, wipe gently, and rinse promptly.
If you’re tempted to use vinegar, pause. Vinegar dissolves minerals well, but on some quartz finishes, repeated acidic contact can dull the resin over time. Many quartz manufacturers discourage it. If you still choose to try it, keep it as an occasional, quick spot-test on an inconspicuous area and rinse immediately, and if you’re unsure, check your quartz brand guidance or ask the installer.
Step 4: Dry to prevent new spots
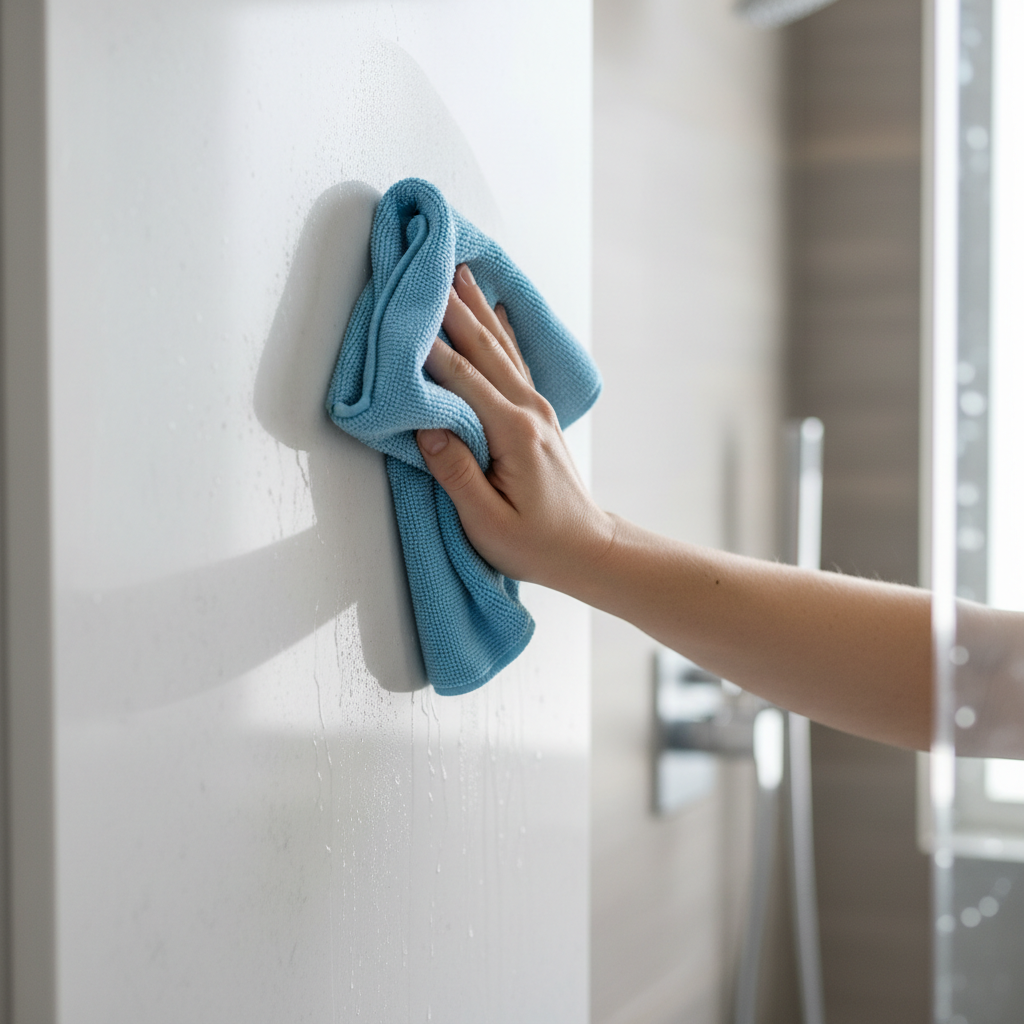
Dry the surface with a clean microfiber towel. This is the unglamorous step that makes the biggest difference, leaving water to air-dry is how spotting reappears overnight.
Step 5: Final buff for streak-free shine
Buff with a second dry microfiber cloth. If you used any product that can leave residue, this quick pass usually fixes the “looks worse than before” problem.
Cleaning approach by situation (use this table to pick your next move)
If your results feel inconsistent, it’s usually because the spot type changed, or you’re mixing products that leave film. Use this as a practical selector.
| What you see | What it usually is | What to do | What to avoid |
|---|---|---|---|
| Cloudy haze across a wide area | Minerals + soap/product film | Dish soap wash, rinse, then quartz-safe spot treatment, dry | Scrubbing hard right away, abrasive pads |
| White dots and drip outlines | Hard-water deposits | Warm-water soften, gentle wipe, scale remover labeled safe for engineered stone, rinse fast | Letting remover sit until it dries |
| Streaks that smear when wiped | Oily residue or “shine” spray buildup | Dish soap first, optional small amount of isopropyl alcohol on cloth, rinse | Layering more spray polish on top |
| Dull patch that never looks right | Finish damage or micro-scratches | Stop aggressive cleaning, ask installer or manufacturer, consider professional refinishing options | Magic erasers, harsh chemicals, repeated abrasion |
Preventing water spots: a simple routine that actually sticks
Most people don’t need a “deep clean schedule,” they need a low-effort habit that interrupts mineral drying.
After each shower (30–60 seconds)
- Quick rinse the walls if you use lots of conditioner or creamy body wash.
- Use a squeegee or microfiber towel on the main splash zone.
- Run the exhaust fan long enough to reduce lingering moisture.
Weekly (10 minutes)
- Wash with warm water + mild dish soap, rinse well.
- Dry the surface, especially seams and edges near fixtures.
Monthly or as needed
- Spot-treat visible mineral dots with a quartz-safe product and rinse promptly.
- Check whether your shampoo niche or fixture area needs extra attention, those zones usually spot first.
If hard water is severe, a whole-home water softener or a showerhead filter may reduce spotting, but results vary by water chemistry and maintenance, so it’s worth treating as “helps” rather than a guarantee.
Common mistakes that make quartz look worse
When people say “I cleaned it and now it’s cloudy,” it’s usually one of these issues.
- Using too much product and not rinsing, residue dries into streaks that mimic water spots.
- Mixing cleaners without a full rinse between them, films can react or just layer.
- Over-scrubbing one small area, the finish can turn uneven in that patch.
- Letting cleaner dwell until it dries, even gentle formulas can leave a ring.
- Ignoring drying, if water air-dries daily, you’re basically “reapplying” minerals.
When it’s time to call a pro (or the manufacturer)
If you’ve followed a gentle process and the spots still look etched or permanently dull, don’t keep escalating to stronger chemicals. At that point, it may be finish wear, installation issues, or a surface incompatibility from a past cleaner.
- Contact the quartz manufacturer if you know the brand, they often have approved product lists.
- Ask the installer what panels were used and what care guidance applies, shower-wall quartz can differ from countertop slabs.
- Consider a stone/tile restoration professional if the surface looks scratched or uneven, they can tell you what’s fixable without making it worse.
Key takeaways (so you don’t overthink it)
- Remove film first, then treat minerals, otherwise you smear grime and grind deposits.
- Rinse and dry matter as much as the cleaner for preventing repeat spots.
- Avoid abrasives and be cautious with acids, especially for frequent use.
- If the wall stays dull even when wet, stop aggressive cleaning and get product-specific guidance.
FAQ
Can I use vinegar to remove water spots on quartz shower walls?
It can dissolve mineral deposits, but many quartz care guides discourage frequent acidic cleaners because the resin binder may dull over time. If you try it, keep it occasional, do a small spot test, and rinse immediately, and if you know your quartz brand, follow their recommendations.
What is the safest daily cleaner for quartz shower walls?
Warm water with a small amount of dish soap, followed by a thorough rinse and towel-dry, tends to be the least risky. Daily “shine” sprays often add buildup, so they’re not always the friend people think.
Why do my quartz shower walls look cloudy after cleaning?
Cloudiness is often leftover residue from cleaner, soap, or conditioner, or minerals that weren’t fully removed. Rinse longer than you think you need to, then dry and buff with a clean microfiber cloth to see the true finish.
Is a Magic Eraser safe on quartz shower walls?
Melamine foam works like very fine sandpaper. On some quartz finishes it may cause micro-scratches or dulling, especially if you use pressure. If you’re unsure, avoid it or test in a hidden spot with a very light touch.
How often should I deep clean quartz shower walls for water spots?
Many households do fine with a weekly gentle wash and a monthly spot treatment, but hard-water homes may need more frequent touch-ups. The bigger lever is drying after showers, that reduces how fast spots rebuild.
What if water spots keep coming back within a day?
That’s usually hard water plus air-drying. Add a quick squeegee or towel-dry step and make sure the bathroom ventilates well. If spotting is extreme, a water treatment option might help, though results depend on local water conditions.
Can I use bleach or harsh disinfectants on quartz shower walls?
Occasional diluted disinfecting may be acceptable for some products, but harsh formulas and frequent use can discolor sealants, damage nearby materials, or leave residue. It’s safer to use a cleaner labeled compatible with engineered stone and follow the label, and if mold is a concern, consider asking a cleaning professional for product guidance.
Final thoughts
Once you understand what you’re looking at, how to clean quartz shower walls from water spots becomes pretty predictable: gentle wash to strip film, careful spot treatment for minerals, then rinse and dry so deposits don’t re-form. If you do one thing today, make it the dry-down step for the main splash area, it’s the simplest way to keep quartz looking “new” without chasing spots every weekend.
If you’d rather keep it even simpler, consider creating a small “after-shower kit” with a microfiber cloth and a quartz-safe spray so the routine feels automatic, not like a whole cleaning project.