
how to hang floating shelves secure is mostly about one thing: knowing what’s actually behind your drywall, then matching the bracket and fastener to that wall and the weight you expect.
If you’re hanging “heavy” floating shelves, the usual advice like “use anchors” can be dangerously vague. A shelf that feels solid on day one can loosen after a few weeks of vibration, humidity, or a slow anchor pull-out, especially if it holds books, dishes, or a microwave.
This guide walks through the real decisions that make shelves stay put: stud vs drywall, bracket style, anchor choice, and a simple load plan so you stop guessing. I’ll also call out a few common shortcuts that look fine on YouTube and then fail in normal homes.
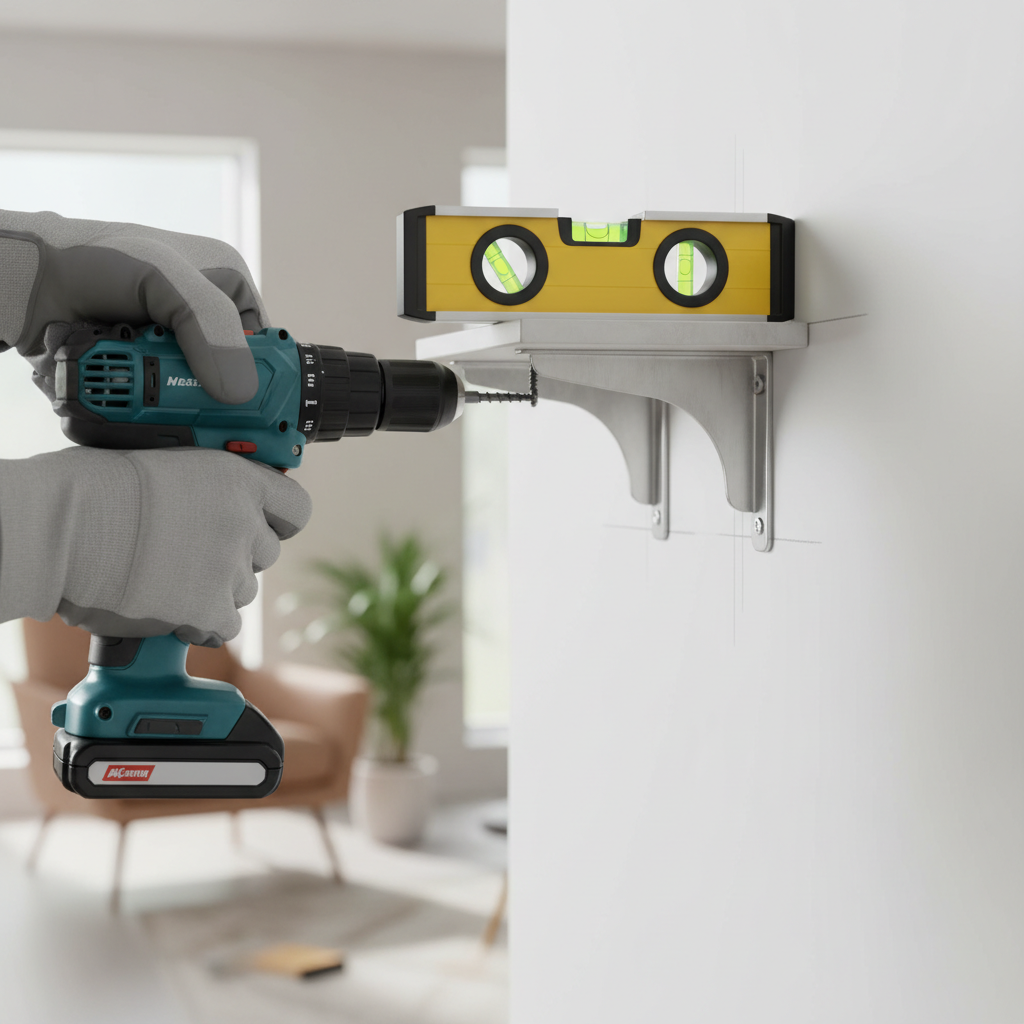
What makes floating shelves fail (and what “heavy” really means)
Most floating shelf failures come down to hidden leverage. A shelf isn’t just a “downward weight” problem, it also creates a twisting force at the wall because the load sits several inches away from the fasteners.
- Wrong attachment point: drywall-only fastening for a shelf that really needed studs or blocking.
- Overrated anchors: some anchors list high numbers, but real-world strength depends on drywall thickness, installation quality, and load direction.
- Bracket mismatch: decorative “floating” hardware that works for light decor but flexes under books or dishware.
- Uneven load: all the weight shoved to one side, making the shelf rack and loosen.
In many homes, “heavy” starts when you move past picture frames and into books, canned goods, small appliances, or stacks of plates. If you’re not sure which category you’re in, use the checklist below and treat “uncertain” as “heavy.”
Quick self-check: are you safe with studs, or do you need a different plan?
Before you drill anything, answer these questions. This is the fastest way to avoid the classic mistake of building a beautiful shelf on a weak attachment.
- What’s your wall type? Typical U.S. interiors are 1/2 in drywall over studs, but older homes and condos vary.
- Can you hit studs in two places? If your shelf bracket has two mounting points, it’s ideal if both land on framing.
- What will live on the shelf most days? “Sometimes” loads still matter, because that’s when failures happen.
- How deep is the shelf? Deeper shelves create more leverage and usually need stronger hardware.
- Any water/steam nearby? Bathrooms and kitchens can stress drywall and fasteners over time.
If you can’t hit studs (or you can only hit one stud on a long shelf), you can still mount securely, but you need the right bracket layout and anchors, and you may want to reduce the planned load.
Choose the right hardware: bracket types and fasteners that actually hold
The bracket does most of the “heavy shelf” work. The fasteners just connect the bracket to something solid.
Floating shelf hardware: what to look for
- Rod-style hidden brackets (steel rods that slide into the shelf): great for a clean look, but only if the rods are thick enough and mounted into studs or solid blocking.
- Hidden metal rail systems: often more forgiving for leveling and can spread load across multiple screws.
- Traditional L-brackets (not fully “floating”): strongest and simplest, especially for truly heavy storage.
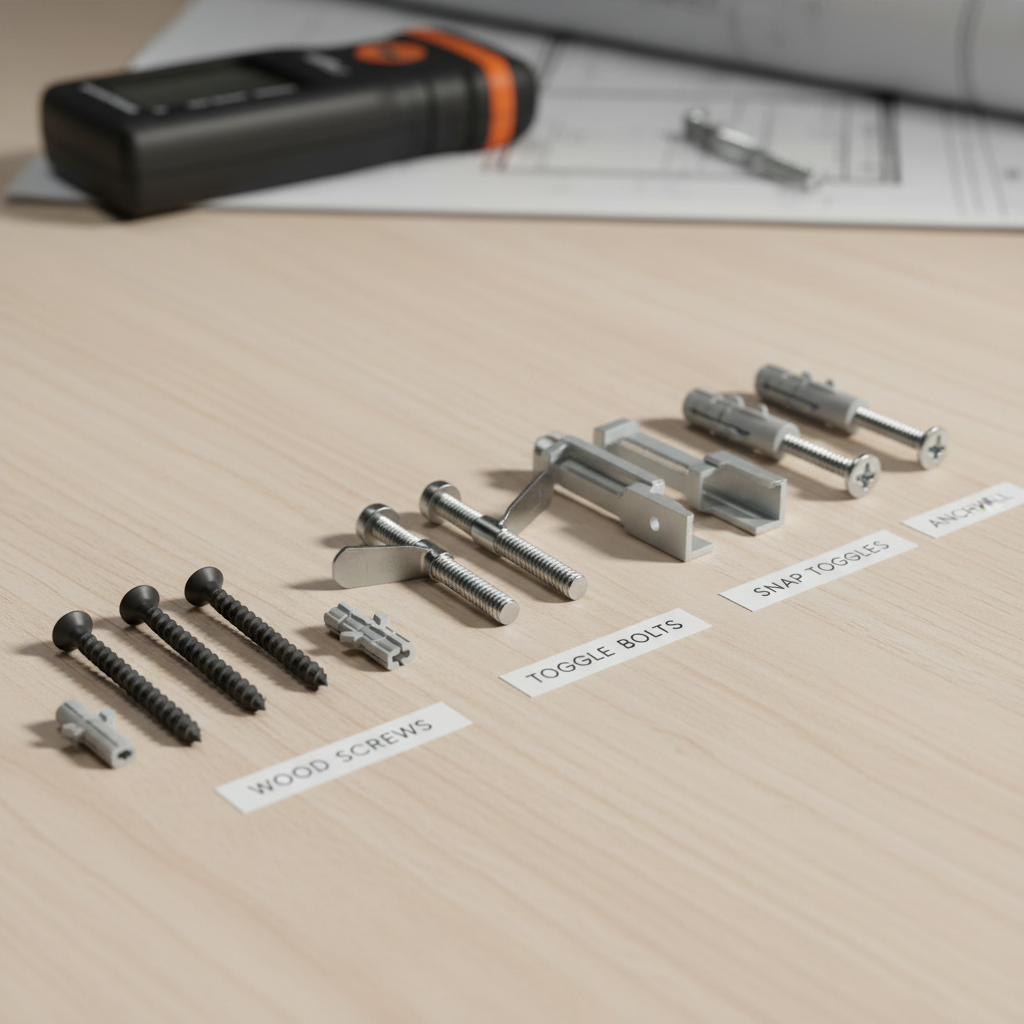
Fasteners: match to the wall
- Into studs: quality wood screws or structural screws, correct length so you bite solid framing without over-penetrating.
- Drywall only: use heavy-duty anchors designed for shear and pull-out resistance, and follow the manufacturer’s drill size exactly.
- Masonry (brick/concrete): masonry screws or sleeve anchors; drilling and dust control matter here.
According to CPSC (U.S. Consumer Product Safety Commission), tip-over and falling hazards in the home are a real source of injury risk, so it’s worth treating wall-mounted storage as a safety project, not just decor.
Plan the load like a builder: a simple table that prevents “surprise heavy”
You don’t need engineering math, but you do need a realistic inventory. Most shelves fail because the shelf gets “upgraded” later, books replace decor, or someone leans on it.
| What you plan to store | Typical risk level | Recommended mounting approach |
|---|---|---|
| Light decor (small plants, frames) | Low | Studs preferred; drywall anchors may work with conservative loads |
| Cookbooks, board games, small stacks of dishes | Medium | Hit studs when possible; use a rail system or multiple attachment points |
| Textbooks, dense books, pantry goods, small appliances | High | Stud mounting or blocking strongly recommended; consider visible brackets |
| Anything people might grab/lean on | High | Studs or masonry anchors; avoid drywall-only installs |
If you’re aiming for a truly “secure heavy” setup, design so the shelf remains safe even if someone adds more weight later. That mindset alone prevents a lot of callbacks.
Step-by-step: how to hang floating shelves securely (3 common wall scenarios)
This is the practical part. Pick the scenario that matches your wall, then follow the sequence. Rushing the layout step is where most installs go sideways.
Scenario A: You can mount into two studs (ideal for heavy shelves)
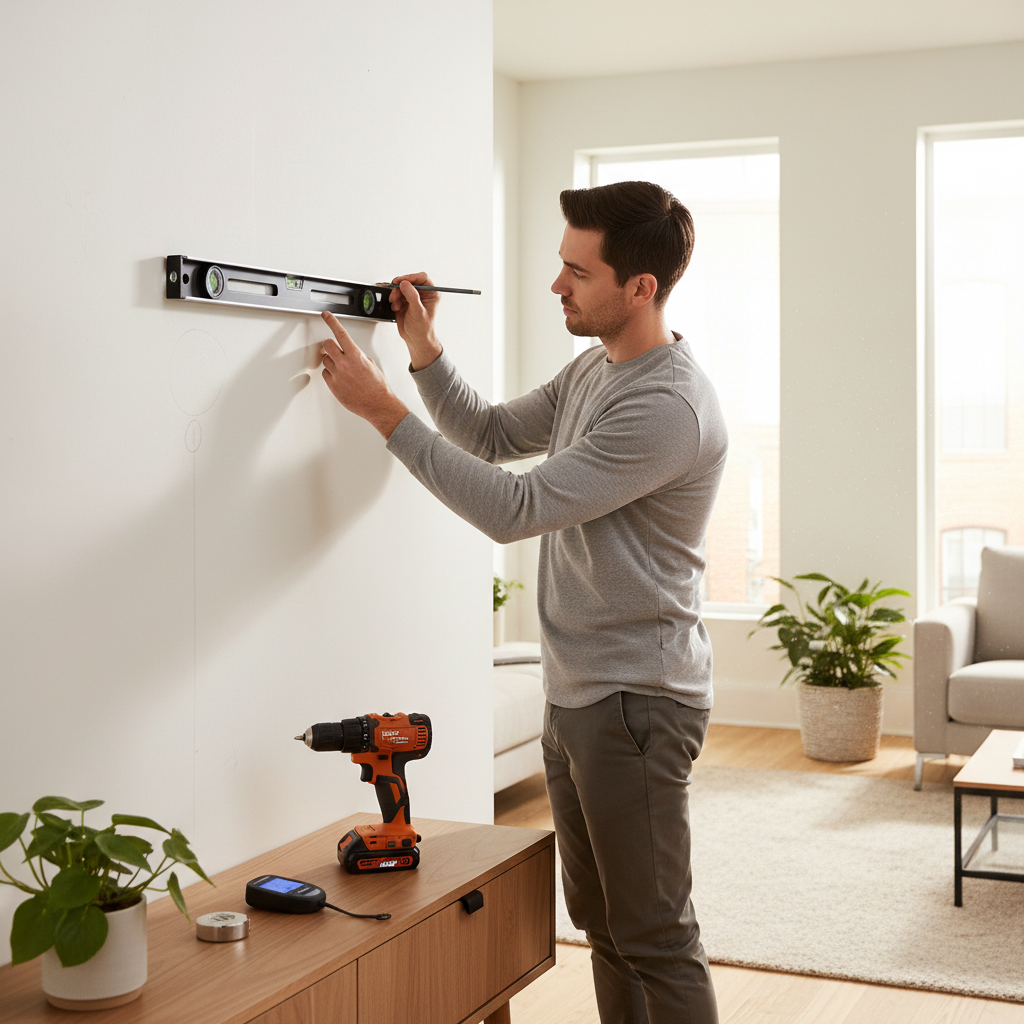
- Mark your shelf height, then locate studs with a stud finder and confirm by measuring typical stud spacing and checking for consistent readings.
- Hold the bracket/rail in place, level it, and mark pilot holes on the stud centerline.
- Drill pilot holes to reduce splitting and improve screw bite, then drive screws firmly without stripping.
- Test the bracket by pulling down and outward by hand, it should feel “dead” with minimal flex.
- Install the shelf body, then re-check level and tighten set screws if your system uses them.
Scenario B: Only one stud lines up (common with long shelves)
- Anchor one side into the stud, then use a rated heavy-duty toggle-style anchor on the other mounting points.
- Favor brackets with more than two wall screws, spreading the load reduces stress on any single anchor.
- Keep heavier items closer to the stud side or centered, avoid loading the “anchor-only” end.
Scenario C: No studs where you need them (drywall-only or masonry constraints)
- Use a bracket system designed for multiple anchors and short cantilever, not a tiny two-screw plate.
- Drill clean holes, install anchors precisely to spec, then re-tighten after initial seating.
- Reduce shelf depth and expected load, and avoid placing dense items like textbooks.
For masonry walls, the steps change mostly at drilling: the right bit, controlled speed, and clearing dust from holes can make the difference between a rock-solid hold and a fastener that spins.
Mistakes that look small but cause loose shelves later
A shelf can feel fine right after installation and still fail later. The slow failures are the frustrating ones because you blame the shelf, not the mounting.
- Not drilling the right size hole: too big and the anchor never grips, too small and it deforms.
- Mounting into drywall “near” a stud: a screw that misses the stud by half an inch is still a miss.
- Over-tightening: stripped screws and crushed drywall reduce holding power.
- Skipping level during final tighten: the bracket twists, then the shelf rocks.
- Ignoring shelf depth: deeper shelves amplify torque, even with the same weight.
Key takeaway: if the bracket flexes when you press down on the front edge (empty shelf), it won’t get better once loaded.
When to call a pro (and when it’s just smarter)
If you’re mounting above a bed, couch, or anywhere a falling shelf could hurt someone, being conservative is reasonable. In a few cases, hiring help costs less than repairing drywall and replacing what breaks.
- You suspect metal studs, unusual framing, or old plaster walls and you’re not sure how to fasten safely.
- You need blocking inside the wall for a clean floating look with high loads.
- The wall has plumbing, electrical, or tile where drilling mistakes get expensive.
- You want a continuous run of shelves and need clean alignment across multiple studs.
According to OSHA, drilling and power tool work comes with eye and dust hazards; using eye protection and controlling dust is a practical safety baseline, and for complex walls a qualified contractor may be the safer route.
Conclusion: a secure shelf is planned, not “winged”
Once you treat the project like load + wall type + bracket choice, the whole question of how to hang floating shelves secure gets much simpler, and your shelf stops being a “hope this holds” situation.
If you want one action today, locate studs and pick hardware that matches what you’ll store most weeks, not what you’ll store on photo day. If studs won’t line up, choose a bracket system that spreads load, then keep the heaviest items centered.
FAQ
How do I know if my floating shelf is secure enough for books?
Books are deceptively heavy and create steady torque. If you’re not mounted into studs (or masonry) with a strong bracket, you may see sagging or loosening over time; test for flex on the front edge before loading.
Can I hang heavy floating shelves using drywall anchors only?
Sometimes, but it depends on anchor type, drywall condition, shelf depth, and how much weight “heavy” means in your room. If the shelf will hold dense items, studs or blocking is the more reliable plan.
What’s better for heavy loads: toggle bolts or plastic anchors?
Many situations favor toggle-style anchors because they spread load behind the drywall, while basic plastic expansion anchors can pull out under higher torque. Still, installation quality matters a lot, and not all toggles fit all brackets.
Why does my floating shelf tilt forward even though it’s tight?
Forward tilt usually points to bracket flex, screws that aren’t biting solid framing, or a shelf body that isn’t seated fully on the hardware. Re-check level, confirm stud contact, and inspect for stripped holes.
How far apart should floating shelf brackets be?
It varies by bracket design and shelf material, but in practice you want brackets aligned with studs where possible and spaced to reduce deflection across the span. Longer shelves carrying books typically need more support points.
Is it safe to mount floating shelves above a bed?
It can be, but it’s a higher-consequence location. Many people choose stud mounting only, heavier hardware, and a conservative load, and if you can’t verify the wall structure, a professional opinion may be worth it.
Do I need a stud finder if I can knock and listen?
Knocking can help you guess, but it’s easy to be off by enough to miss the stud center. A stud finder plus a quick confirmation step reduces “mystery misses,” especially on heavy installs.
If you’re trying to get a clean floating look but your stud layout won’t cooperate, you may prefer a shelf system that spreads load across a rail or uses multiple mounting points so the install stays tidy without gambling on weak spots in the wall.