
How to remove limescale from faucets comes down to two things: dissolving the mineral crust (usually calcium carbonate) and doing it without scratching or stripping your faucet finish.
If your faucet looks chalky, spits sideways, or the aerator seems “half clogged,” limescale is a common culprit, especially in hard-water areas. The good news is most buildup responds to mild acids like vinegar or citric acid, plus a little patience.
What trips people up is choosing a method that matches the situation, a brushed nickel faucet and a chrome faucet don’t always tolerate the same cleaners, and soaking the wrong parts too long can leave dull spots. Below you’ll get a quick way to identify what you’re seeing, then a few practical removal options, plus how to keep it from coming right back.
Why limescale sticks to faucets (and why it keeps coming back)
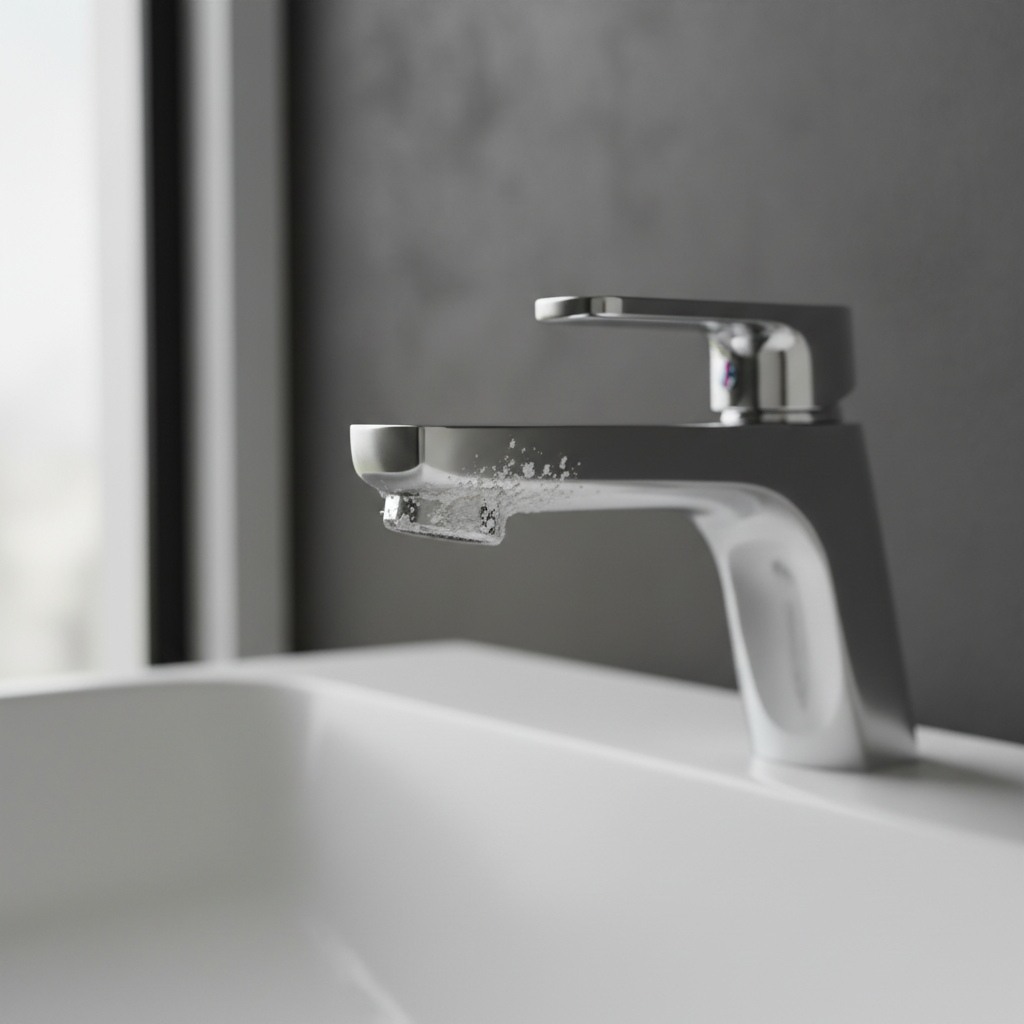
Limescale forms when hard water dries on metal surfaces. The water evaporates, minerals stay behind, and over time they harden into that white, chalky layer. It builds fastest where water “breaks” into droplets, like the aerator screen, the base of the spout, and around handles.
In many homes, the aerator clogs before the faucet looks terrible, so the symptom is more about performance than appearance: reduced flow, uneven spray, or a whistling sound.
According to the U.S. Geological Survey (USGS), hardness mainly comes from dissolved calcium and magnesium. That explains why mild acids work, they react with mineral deposits and loosen them so you can wipe them away.
Quick self-check: is it limescale, corrosion, or something else?
Before you start scrubbing, it helps to confirm what you’re dealing with. Different problems can look similar, and the fix changes.
- Limescale: white or off-white crusty buildup, often powdery when scraped with a fingernail, dissolves with vinegar/citric acid.
- Soap scum: cloudy film that smears, often near shower/bath fixtures, improves with degreasing plus light acid.
- Corrosion/rust: orange-brown staining (more common on older parts), may not dissolve cleanly with vinegar.
- Finish wear: dull patches that don’t change after cleaning, often from abrasives or harsh chemicals.
A simple test: dab white vinegar on a paper towel, hold it on the spot for 5–10 minutes, then wipe. If it softens noticeably, you’re likely dealing with mineral scale.
Tools and cleaners that work (and what to avoid)
You don’t need a full cleaning arsenal, but you do need the right materials so you don’t trade limescale for scratches.
What to gather
- White vinegar or citric acid powder (often sold for descaling)
- Microfiber cloths
- An old toothbrush or soft detailing brush
- A small bowl or zip-top bag + rubber band (for soaking a spout)
- Adjustable wrench or pliers (optional), plus a towel to protect finishes
What to avoid in many cases
- Steel wool or abrasive pads, they can permanently scratch chrome, nickel, and painted finishes
- Bleach mixing with acids (like vinegar), don’t combine cleaners
- Long, unattended soaking on delicate finishes, if you’re unsure, shorten contact time and rinse sooner
According to the Centers for Disease Control and Prevention (CDC), household chemicals should be used as labeled and not mixed, since some combinations can release harmful gases. If you use a commercial descaler, read the label closely and keep ventilation decent.
Step-by-step: how to remove limescale from faucets (3 reliable methods)
Pick the method that matches where the buildup sits. Surface spots take minutes, an aerator clog can take a bit longer, and heavy deposits usually need repeated short soaks.
Method A: Vinegar compress for the outside (fast, low risk)
- Soak a microfiber cloth or paper towel in white vinegar.
- Wrap it around the scaled area (base of spout, handles, around joints).
- Wait 10–20 minutes, check progress, then gently brush and wipe.
- Rinse with warm water and dry to prevent new spotting.
If you’re cleaning a premium finish (matte black, unlacquered brass, specialty coatings), keep contact time shorter and test a small area first. Many finishes tolerate mild acid, but not all behave the same.
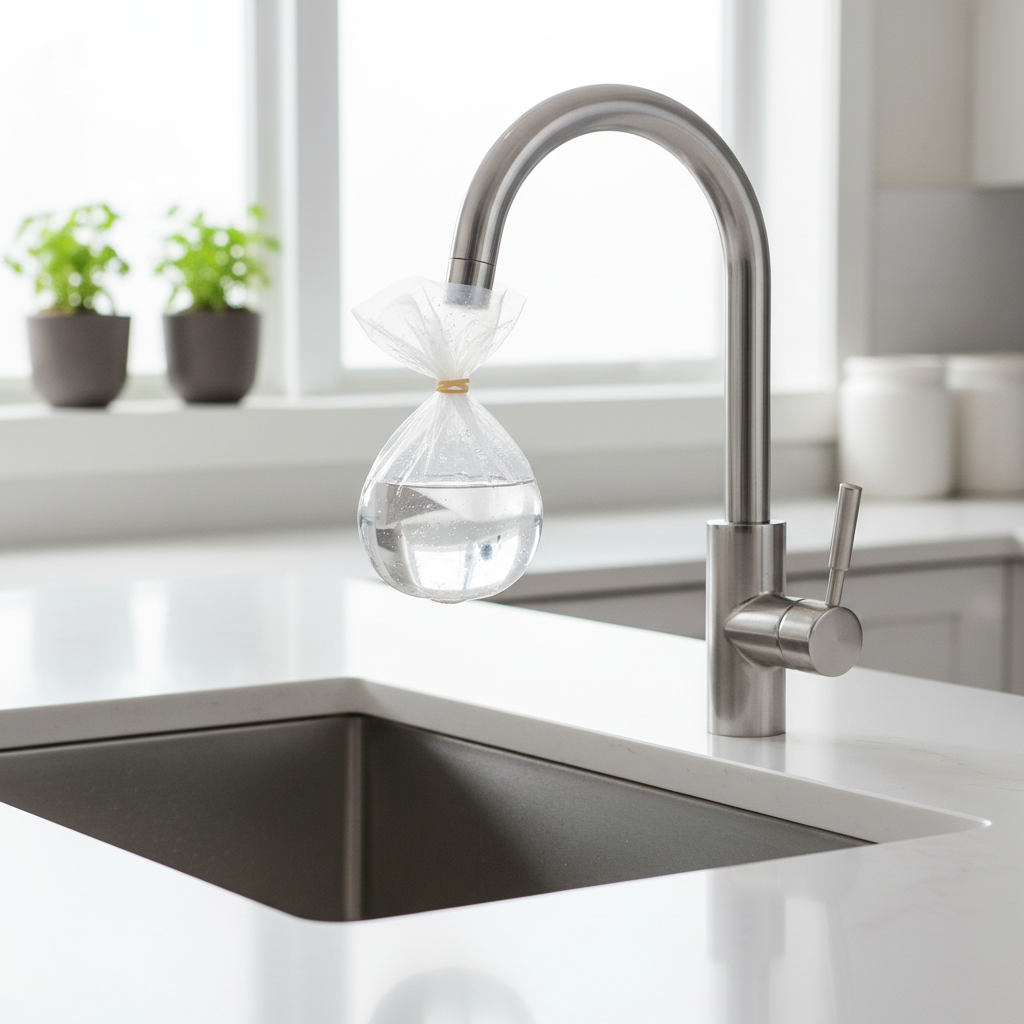
Method B: Bag soak for the spout and aerator area (best for crust near the tip)
- Fill a zip-top bag halfway with vinegar (or warm citric acid solution).
- Slip it over the faucet tip so the scaled area sits submerged.
- Secure with a rubber band, let it sit 20–60 minutes.
- Remove, scrub lightly with a toothbrush, rinse thoroughly, then dry.
This approach targets the mineral ring right where water exits. It’s also a clean way to learn how to remove limescale from faucets without dismantling anything.
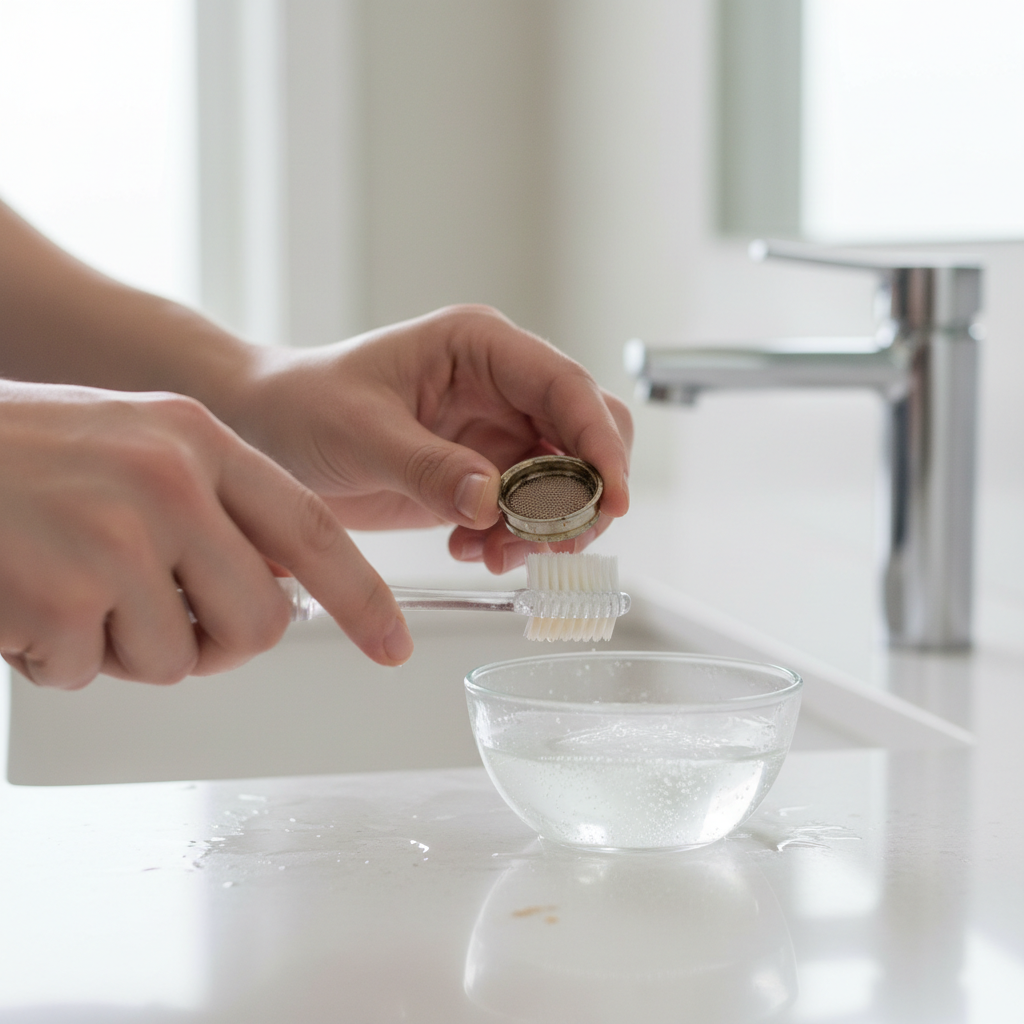
Method C: Remove and descale the aerator (best for low flow)
- Unscrew the aerator (often hand-tight; use pliers with a towel if stuck).
- Take note of the order of parts, a quick phone photo helps.
- Soak components in vinegar or citric acid solution for 30–60 minutes.
- Brush the screen, rinse, reassemble, then run water for 30 seconds.
If you find sand-like grit trapped inside, that can point to sediment in the line. It’s common after plumbing work or a water heater flush, and it’s not always limescale.
Which cleaner should you use? A practical comparison table
Most households do well with vinegar or citric acid. Commercial descalers can be faster, but they vary, and some are more aggressive than you need for a faucet.
| Option | Works well for | Pros | Watch-outs |
|---|---|---|---|
| White vinegar | Light to moderate scale on spouts, handles, aerators | Cheap, widely available, simple | Odor, avoid long soaks on sensitive finishes |
| Citric acid solution | Moderate to heavier scale, faster than vinegar in many cases | Less odor, easy to mix, effective | Still acidic, test finishes, rinse well |
| Commercial descaler | Heavy scale, repeat issues, time-sensitive jobs | Can be quick, targeted formulas | Label varies, may be harsh, never mix with other cleaners |
| Baking soda paste (non-acid) | Light cleaning when you suspect finish sensitivity | Gentle, deodorizing | Not great on true limescale, can scratch if rubbed hard |
Hands-on tips that prevent scratches and dull spots
Most faucet damage happens during “just a quick scrub.” If you want the shine back, technique matters as much as the cleaner.
- Let chemistry do the work. Soak or compress first, scrub second.
- Use soft tools. Microfiber and soft bristles beat scouring pads.
- Rinse, then dry. Air-drying leaves new mineral spots behind.
- Don’t forget seams. Scale loves the base ring and handle joints, a toothbrush gets in without gouging.
If you need a little extra bite, a wooden toothpick can help lift softened deposits in crevices, but keep pressure light and stay off polished surfaces.
How to keep limescale off faucets longer (realistic prevention)
Even when you learn how to remove limescale from faucets, the bigger win is stretching the time between cleanings. In hard-water regions, prevention is usually about small habits, not a one-time miracle product.
- Wipe after use in high-splash areas, especially the base and spout tip.
- Clean the aerator on a schedule, every 1–3 months is common in hard-water homes.
- Consider a whole-home water softener if scale is constant across showers, appliances, and fixtures, costs and benefits vary, so it’s worth comparing.
- Check for drips, a slow leak creates the perfect “evaporation engine” for minerals.
According to the U.S. Environmental Protection Agency (EPA), fixing household leaks can reduce wasted water. From a limescale angle, fewer drips also means fewer mineral rings forming in the same spot.
Common mistakes (and when you should call a pro)
Some problems look like limescale but are actually a failing cartridge, worn seals, or corrosion inside the faucet body. Cleaning won’t fix those, and aggressive chemicals can make them worse.
- Over-soaking plated finishes and then wondering why the sheen looks uneven.
- Cranking on parts with bare pliers, which dents and scars the metal. Always use a towel or a proper strap wrench.
- Ignoring the aerator gasket, if it’s cracked, you may get leaks or a weird spray pattern even after descaling.
You may want a licensed plumber or the faucet manufacturer’s support if you see persistent low pressure after cleaning, leaks at the handle or base, or green-blue staining that suggests metal interaction and corrosion. If your home has older plumbing, it’s also reasonable to be cautious about what you soak and for how long.
Key takeaways before you start
- Vinegar compress handles most surface scale without disassembly.
- Bag soaking targets heavy buildup at the spout tip efficiently.
- Aerator descaling is the go-to fix for weak flow and messy spray.
- Soft tools + short soak cycles beat hard scrubbing every time.
Conclusion: get the shine back, then make it stay
Once you know how to remove limescale from faucets, the job usually becomes a quick maintenance loop: dissolve, wipe, rinse, dry. Start with the gentlest method that fits your symptoms, and step up only if the scale laughs at your first attempt.
If you do one thing today, remove and soak the aerator, then wipe the faucet dry after the final rinse. Those two moves solve most “looks bad” and “flows bad” complaints without turning the sink into a weekend project.