
how to clean grout in bathroom tiles easily comes down to two things: using the right cleaner for the type of stain, and giving it enough dwell time before you scrub.
If you have ever cleaned the tile, stepped back, and still saw dark lines in the grout, you are not imagining it. Grout is porous, so it grabs onto soap scum, body oils, hard-water minerals, and sometimes mildew, and that mix can look “permanently dirty” even in a well-kept bathroom.
The good news is you usually do not need a full regrout job. In many cases, a structured approach, a decent brush, and one targeted product will get you most of the way there, and a quick maintenance routine keeps it from sliding back.
One quick note before we jump in: if your grout is cracking, missing, or turning sandy, cleaning will not solve that. You can still clean it, but you may also need repairs.
Why bathroom grout gets dirty so fast (and what that tells you)
Grout discoloration is not one problem, it is a few common problems that look similar. Identifying which one you have saves time and prevents you from scrubbing for an hour with the wrong cleaner.
- Soap scum + body oils: common on shower walls and floors, often looks gray or dull rather than spotty.
- Hard-water mineral buildup: more likely where water sits or evaporates, can look chalky or yellowish, especially with well water.
- Mildew or mold: typically shows up as black or dark specks in corners, edges, and silicone joints, especially with low ventilation.
- Embedded dirt from foot traffic: common on bathroom floors near the doorway, looks like dark “tracks.”
According to the U.S. Environmental Protection Agency (EPA), controlling moisture is a key step to preventing mold growth indoors, so cleaning works best when paired with better drying and ventilation.
A quick self-check: what kind of grout and stain are you dealing with?
Before you mix anything, spend two minutes on a simple check. It helps you choose a cleaner that works without risking tile, grout, or nearby finishes.
1) Grout type
- Cement-based grout is most common in homes, porous, and usually responds well to alkaline cleaners for grime and oxidizers for mildew.
- Epoxy grout is less porous and more stain-resistant, often used in higher-end installs, it typically needs gentler cleaners and less scrubbing.
2) Tile type (important for acids)
- Ceramic/porcelain is usually acid-tolerant for mineral deposits, when used carefully.
- Natural stone (marble, travertine, limestone) can etch with vinegar or acidic cleaners, so avoid acid unless a stone-safe product says it is compatible.
3) Stain behavior test
- If it feels slippery and wipes a bit with dish soap, it is often soap scum.
- If it looks crusty or chalky, think minerals.
- If it is spotty, dark, and returns quickly, think mildew, plus moisture issues.
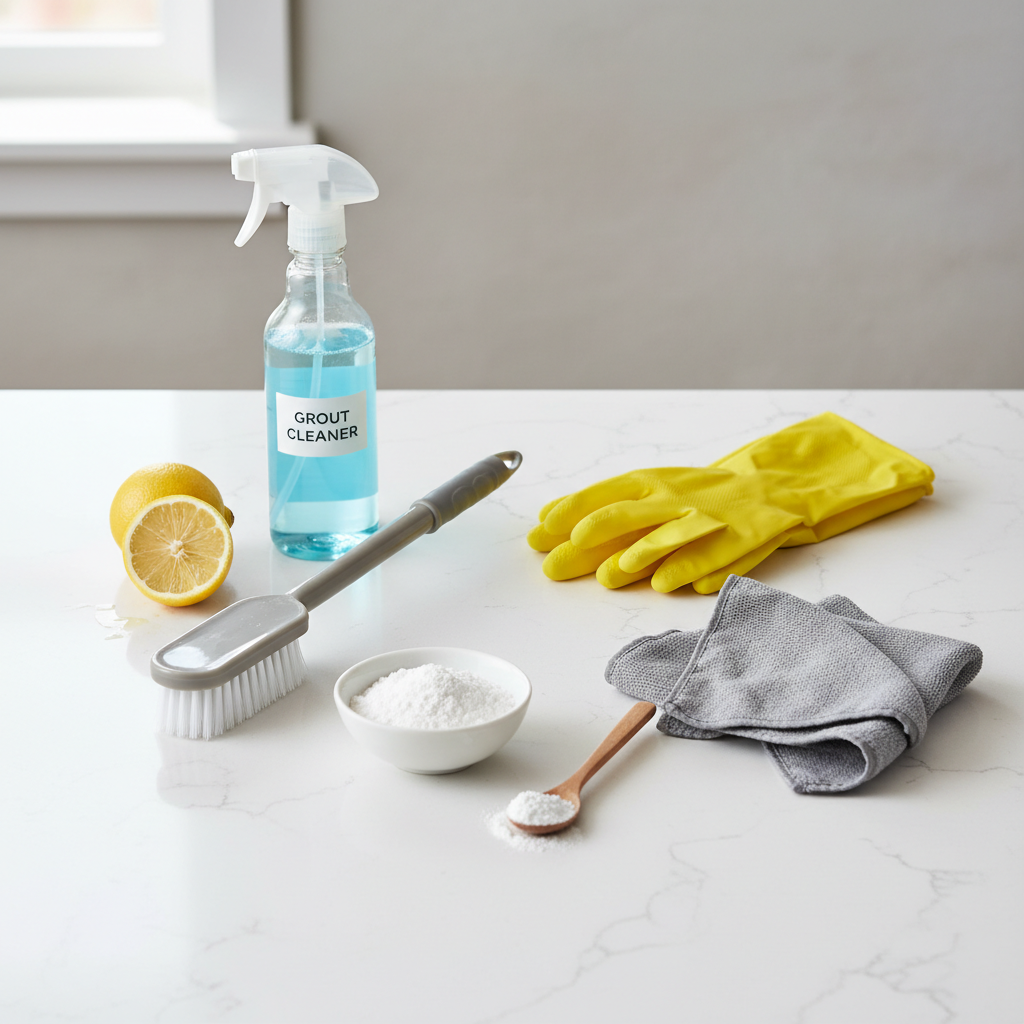
Tools and cleaners that make the job easier (with a simple comparison table)
You can clean grout with almost anything, but “almost anything” usually means more elbow grease. A few basics make the process faster and more consistent.
- Grout brush or stiff nylon brush, avoid metal bristles that can scratch tile or damage grout.
- Spray bottle for even coverage and dwell time.
- Microfiber cloths for wipe-up and final rinse.
- Gloves and, if using stronger products, good ventilation.
| Problem | Cleaner type | What it’s good at | Watch-outs |
|---|---|---|---|
| Everyday grime | Alkaline cleaner or dish soap solution | Oils + soap scum | Rinse well or residue attracts dirt |
| Mildew stains | Oxygen bleach (powder) or targeted mold remover | Lightening dark grout staining | Ventilate, follow label, test first |
| Hard-water minerals | Mild acid (tile-safe) or descaler | Dissolving mineral crust | Avoid acid on natural stone |
| “Always dirty” floor grout | Heavy-duty grout cleaner + brush | Embedded soil | Do a small test area to avoid fading |
Safety note: never mix bleach with ammonia or acids such as vinegar. That combination can create dangerous fumes. If you are unsure about a product interaction, check the label or ask a professional.
Step-by-step: how to clean grout in bathroom tiles easily (most homes)
This is the process that works for a lot of typical bathrooms with ceramic or porcelain tile and cement grout. The big mistake people make is scrubbing too early, dwell time does a lot of the heavy lifting.
Step 1: Dry prep and rinse
- Sweep or vacuum loose dirt and hair, especially on floors.
- Rinse with warm water to remove surface dust and warm up the grout.
Step 2: Apply cleaner and let it sit
- For everyday grime, use a bathroom-safe alkaline cleaner or warm water with a small amount of dish soap.
- Spray generously along grout lines, then wait 5–10 minutes, longer if the label allows.
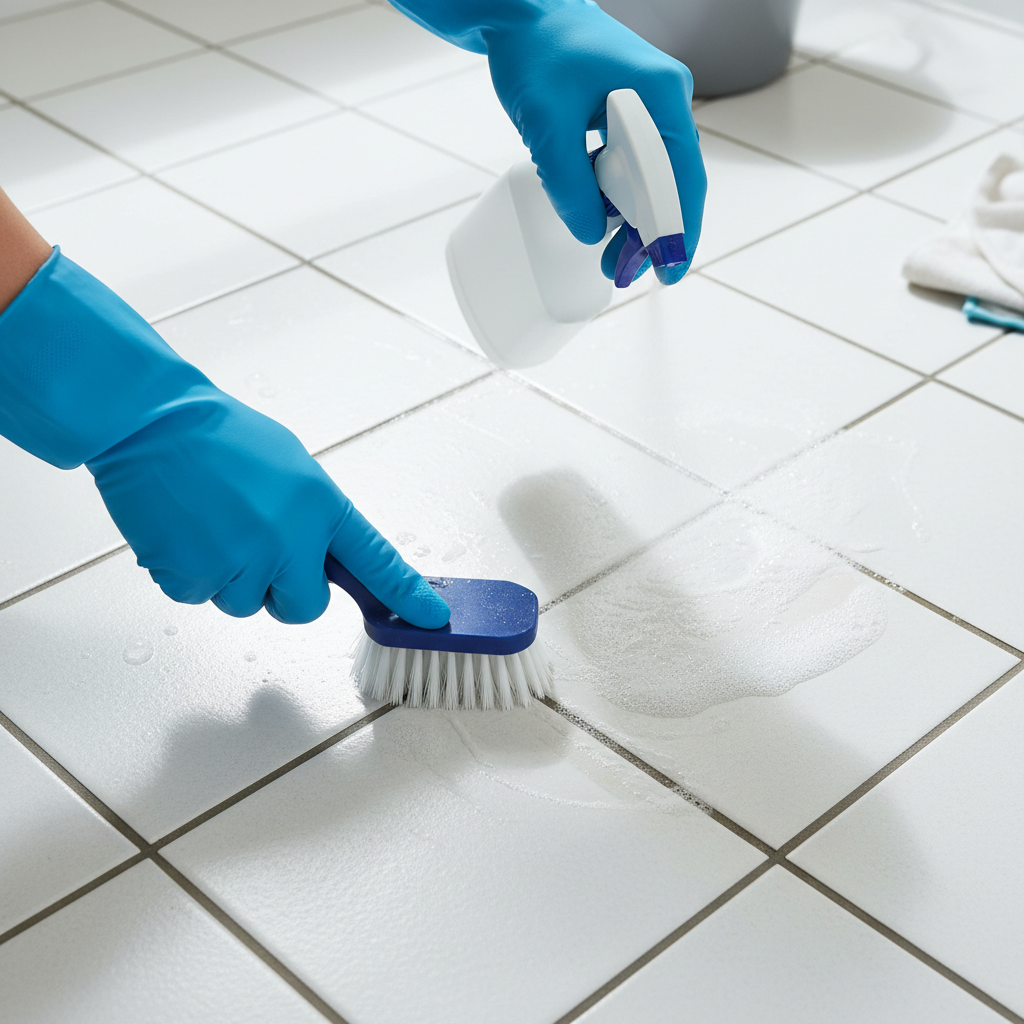
Step 3: Scrub with the right motion
- Use a grout brush and scrub along the line, not across the tile.
- Work in small sections so the cleaner does not dry out.
Step 4: Rinse and wipe dry
- Rinse with clean water, then wipe with microfiber.
- Drying matters, leftover moisture can encourage mildew in corners.
If you are still seeing dark lines after one pass, do not immediately jump to stronger chemicals across the whole bathroom. Spot-treat a test area first, then scale up.
Targeted fixes for stubborn grout stains (without overdoing it)
When “standard clean” does not move the stain, the stain is usually not standard dirt. Match the method to what you see.
For mildew or black specks
- Use an oxygen bleach paste or a mildew-specific product designed for bathrooms.
- Give it time to work, then scrub lightly and rinse thoroughly.
- Improve drying: run the fan longer, squeegee shower walls, and keep the door cracked if possible.
According to the Centers for Disease Control and Prevention (CDC), mold growth indoors is linked to moisture problems, so cleaning is only half the fix when ventilation is weak.
For hard-water buildup
- Use a tile-safe descaler or mild acid cleaner, only if your tile is not natural stone.
- Apply carefully on grout lines, avoid letting it sit on metal fixtures.
- Rinse more than once, acids left behind can keep reacting.
For deep-set floor grime
- Try a heavy-duty grout cleaner, or a steam cleaner with a grout attachment if you already own one.
- Scrub, rinse, dry, then reassess in daylight, bathroom lighting can hide residue.
Key point: if you keep re-cleaning the same spots every week, that is usually a moisture or sealing issue, not a “you did it wrong” issue.
Make it last: sealing, maintenance, and small habits that matter
Cleaning grout once is satisfying. Keeping it clean is mostly about making it harder for grime and moisture to settle in.
Consider sealing cement grout
- Many cement grouts benefit from a penetrating sealer that reduces water and stain absorption.
- Seal only after grout is fully clean and dry, otherwise you can lock in discoloration.
- Follow the sealer label for cure times, bathrooms are humid, so drying often takes longer.
Simple maintenance routine (realistic version)
- Weekly: quick spray cleaner, light brush on problem lines, rinse.
- After showers: squeegee walls or towel-dry corners when mildew is recurring.
- Monthly: check caulk lines, if caulk is failing, water may be getting behind tile.
Common mistakes that waste time (or make grout look worse)
- Scrubbing immediately: most cleaners need dwell time, otherwise you work harder for less payoff.
- Using vinegar on stone: it can etch and leave a dull spot that looks like “stain.”
- Overusing bleach: it may lighten stains but can weaken some grout over time, and it does not remove soap scum well.
- Not rinsing: cleaner residue attracts dirt and leaves a hazy film.
- Ignoring ventilation: mildew returns fast when the bathroom stays damp.
When it’s time to call a pro (or consider regrouting)
Sometimes the issue is not cleanliness, it is wear. You will save effort by recognizing the signs early.
- Cracked, missing, or powdery grout: cleaning will not restore structural integrity.
- Persistent mold smell: may suggest moisture behind tile or under flooring, a professional inspection can be worth it.
- Loose tiles or soft spots: potential water damage, address quickly to prevent bigger repairs.
- Natural stone uncertainty: if you do not know the stone type, ask a tile pro before using acidic products.
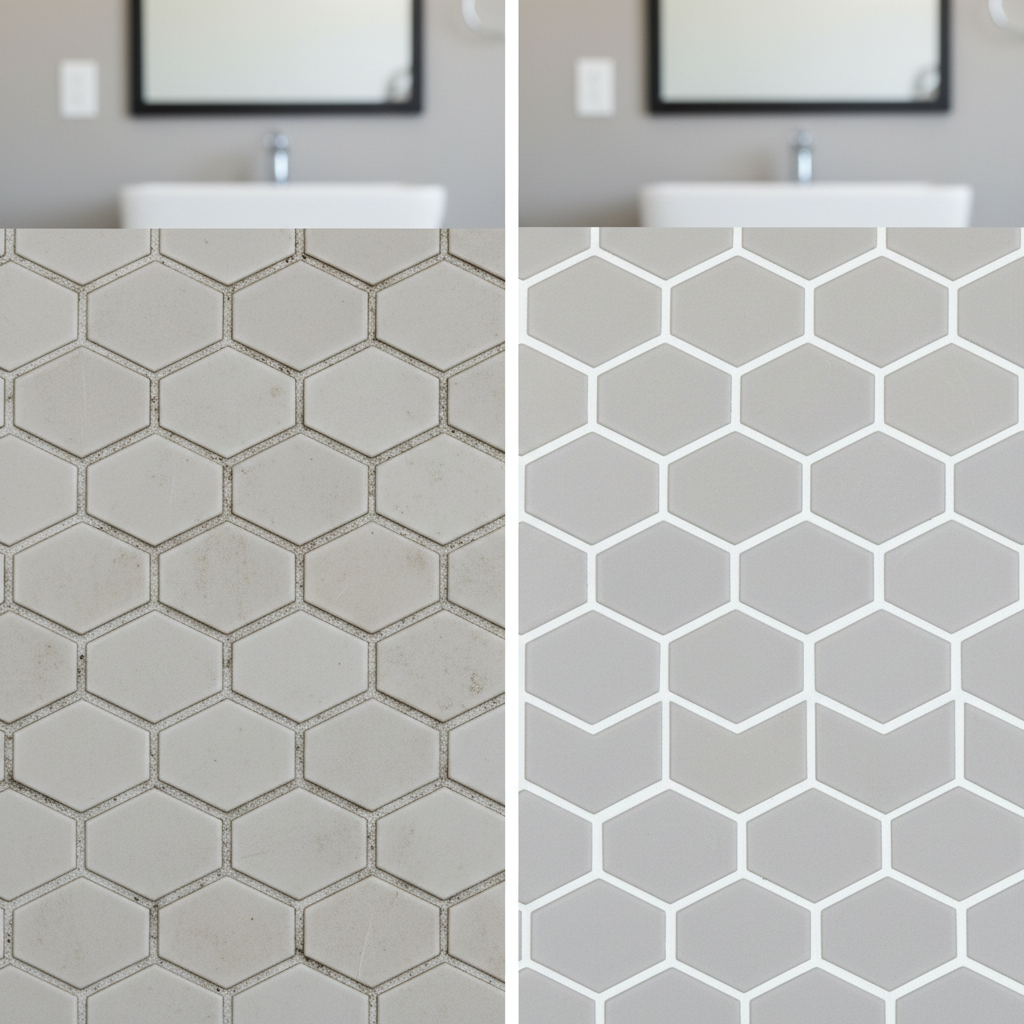
Conclusion: a simple plan that actually works
Most people can clean grout successfully by slowing down a bit, choosing a cleaner that matches the stain, and letting it sit before scrubbing. Once you see what “clean” looks like in your bathroom, sealing and a small weekly routine keep you from repeating the same deep clean.
If you want an easy starting move today, pick one small section, test your cleaner, and time the dwell. That tiny change is often what makes how to clean grout in bathroom tiles easily feel doable instead of never-ending.
FAQ
- How do I clean grout in bathroom tiles easily without harsh chemicals?
Warm water with a little dish soap plus a stiff nylon brush handles many soap-scum situations. For darker stains, oxygen bleach is often a middle-ground option, but test first and ventilate. - Does baking soda and vinegar really work on grout?
It can help in some cases, but it is not magic. Baking soda adds mild abrasion, vinegar is acidic for minerals, but the combo can foam and dilute quickly, and vinegar is not suitable for many natural stones. - What is the fastest way to brighten dirty grout lines?
A grout-specific cleaner with proper dwell time is usually faster than DIY mixes. If staining is mildew-related, a targeted mildew remover may brighten more quickly, but follow the label and ventilation guidance. - How can I tell if my grout is moldy or just dirty?
Mold or mildew often appears as dark specks in corners and along edges and tends to return quickly when the bathroom stays humid. General dirt looks more evenly gray and improves with degreasing cleaners and scrubbing. - Should I steam clean bathroom grout?
Steam can help loosen grime, especially on porcelain or ceramic tile, but it is not ideal for every installation. If grout is already cracking or you have moisture issues, steam may add more water to the system, so use cautiously. - How often should I seal grout in a bathroom?
It depends on the grout and the sealer. Many homeowners reseal periodically when water stops beading and grout darkens quickly after cleaning, but label directions and bathroom humidity matter. - Why does my grout look clean when wet but dirty when dry?
Water can temporarily mask discoloration. When it dries, embedded staining and residue show again, which is a sign you may need a more targeted cleaner or better rinsing.
If you are trying to figure out how to clean grout in bathroom tiles easily but keep running into recurring dark lines, it may help to step back and treat it like a “cause” problem, not a “scrub harder” problem, a quick stain test, the right product for that stain, and a simple moisture routine usually make the difference.