
How to clean kitchen cabinets outside and inside comes down to two things: using the right cleaner for your cabinet finish, and separating greasy “touch zones” from the cleaner interior storage areas so you don’t spread grime around.
If your cabinets look dull, feel sticky near the stove, or smell a little “old kitchen” when you open doors, you’re not alone. Most cabinet mess is slow buildup, cooking oils, hand oils, and small spills that hide along edges, knobs, and shelf corners.
This guide walks you through a practical routine you can actually keep up with, plus a quick table for what to use on wood, painted, laminate, and more. I’ll also flag common mistakes that cause streaks, swelling, or peeling, because cabinets can be surprisingly easy to damage.

Before You Start: Identify Your Cabinet Finish and Gather Supplies
Before you clean anything, take 30 seconds to confirm what you’re cleaning. A “universal” degreaser can be fine for some finishes and a headache for others, especially if your cabinets are painted or have a matte topcoat.
If you’re unsure, test any new cleaner in a hidden spot, like the inside edge of a door. According to the U.S. Consumer Product Safety Commission (CPSC), following product label directions and using chemicals as intended helps reduce avoidable exposure and accidents at home.
Quick supply list (most kitchens already have this)
- Microfiber cloths (at least 3: one for wash, one for rinse, one for dry)
- Soft sponge or non-scratch pad
- Warm water + mild dish soap
- Small bowl or bucket
- Old toothbrush or soft detail brush
- Optional: vacuum with brush attachment, wood-safe cleaner, diluted vinegar for non-stone/low-risk areas
Best Cleaners by Cabinet Type (Use This Table)
If you want fewer streaks and less drama, match the cleaner to the finish. Many cabinets are more sensitive to soaking and scrubbing than people expect, so gentle and repeatable usually wins.
| Cabinet type | What usually works | What to avoid |
|---|---|---|
| Painted cabinets | Warm water + a few drops dish soap; damp microfiber; dry buff | Abrasives, heavy degreasers, magic erasers on sheen paint (can dull) |
| Finished wood (stained/sealed) | Dish soap solution; wood-safe cleaner for periodic refresh | Soaking seams, steam cleaners, harsh alkaline cleaners |
| Laminate / thermofoil | Mild soap; non-scratch sponge; rinse and dry | High heat, steam, solvent-based cleaners, aggressive scrubbing at edges |
| High-gloss cabinets | Damp microfiber + mild soap; final dry cloth to prevent haze | Wax buildup, gritty cloths, abrasive pads (micro-scratches show) |
| Unfinished/rough wood interiors | Vacuum + barely damp wipe; quick dry | Heavy water use (can swell/warp), strong fragrances that linger |
How to Clean Kitchen Cabinets Outside and Inside: A Simple Step-by-Step
How to clean kitchen cabinets outside and inside goes faster when you work top to bottom, and when you keep a “wash cloth” and “dry cloth” separate. That one habit prevents smears and water marks.
Step 1: Dry prep (saves time later)
- Remove countertop appliances that block lower doors, if needed.
- Dust door fronts and frames with a dry microfiber or vacuum brush.
- Spot-check sticky areas around pulls and near the range hood.
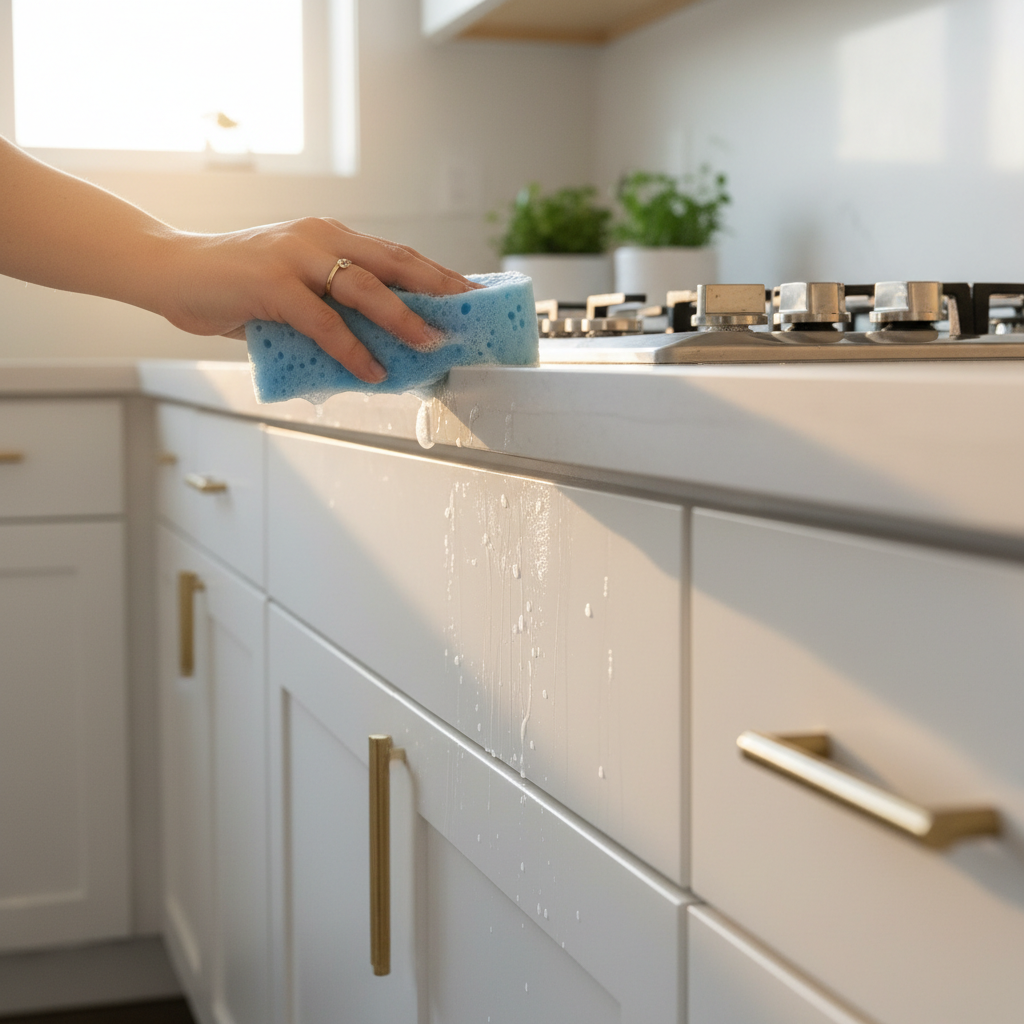
Step 2: Wash cabinet exteriors (doors, frames, pulls)
- Mix warm water with a few drops of dish soap.
- Dampen, don’t soak, the cloth. Wipe with the grain for wood.
- For handles/knobs: use a toothbrush for creases, then wipe clean.
- Rinse by wiping again with a second cloth dampened with plain water.
- Dry immediately with a clean microfiber to prevent swelling and streaks.
Step 3: Deal with grease without damaging the finish
Grease is usually the reason people feel stuck. The trick is not a stronger chemical, it’s a couple short passes with a mild cleaner and proper drying.
- Lay a warm, damp cloth on the sticky spot for 20–30 seconds to soften residue.
- Wipe gently, repeat once or twice if needed.
- If residue persists, try a small amount of wood-safe cleaner or a diluted degreaser labeled safe for your surface, then rinse and dry.
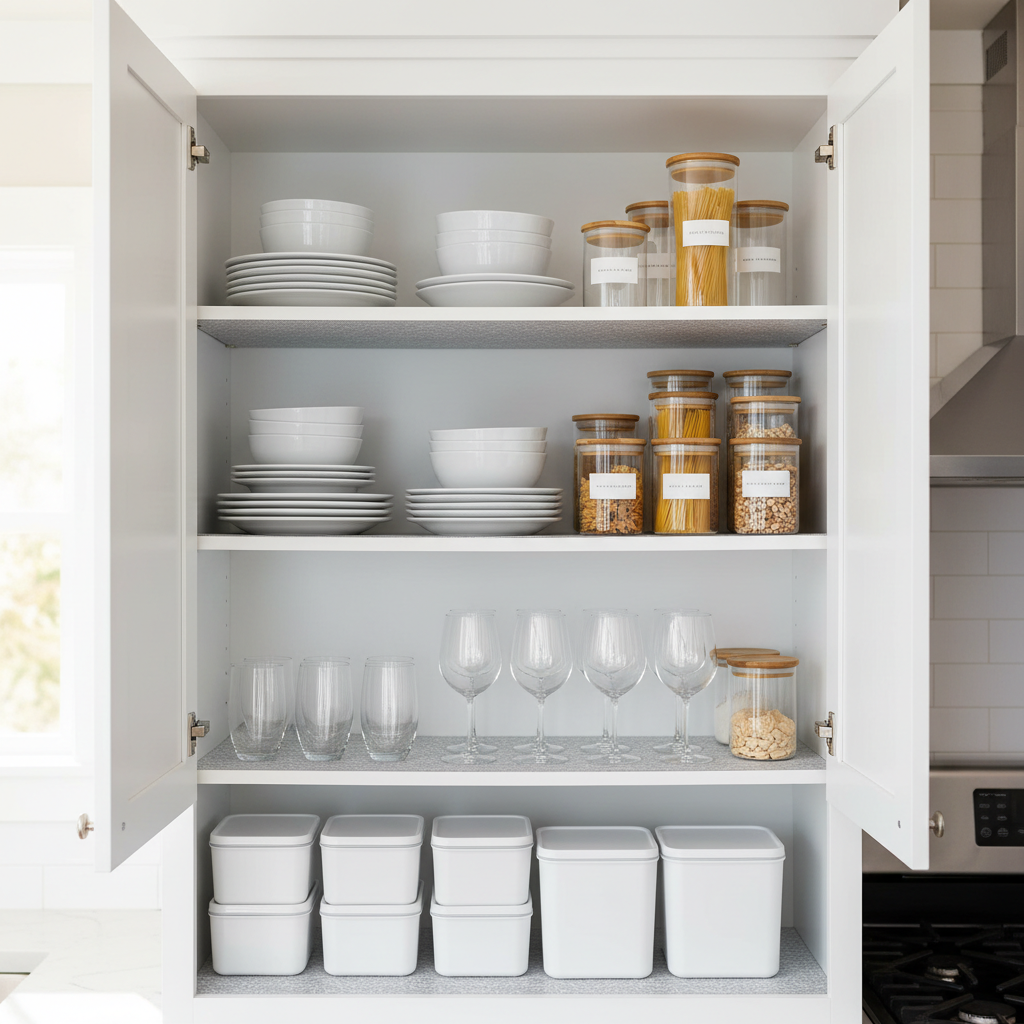
Step 4: Clean cabinet interiors (shelves, corners, door edges)
- Take items out in categories, not one-by-one, so you can put them back faster.
- Vacuum crumbs and dust first, especially in back corners.
- Wipe with lightly soapy water, then a plain-water rinse cloth.
- Dry shelves and the inside lip of the frame, moisture loves to sit there.
Step 5: Put items back with a quick reset
- Wipe bottle bottoms that leave rings (oil, syrup, coffee).
- Group “leakers” on a small tray or liner to contain future mess.
A Fast Self-Check: What Kind of Cabinet Mess Do You Have?
If your cleaning attempts “don’t work,” it’s often because you’re treating the wrong problem. Here’s a quick way to diagnose what you’re seeing.
- Sticky near knobs and stove: cooking oils + hand oils, needs gentle degreasing and repeat passes.
- Gray haze or streaks: too much product or not enough drying, switch to damp wipe + dry buff.
- Dark marks along edges: grime in seams, use a soft brush and minimal water.
- Musty smell inside: trapped moisture or old spills, empty, wipe, dry thoroughly, and improve airflow.
- Flaking paint or lifting film: finish issue, stop aggressive cleaning and reassess product choice.
Practical Routines That Keep Cabinets Clean (Without Deep-Cleaning Every Time)
Most households don’t need a full inside-and-out scrub every week. A realistic cadence keeps your cabinets looking good with less effort, and it reduces the temptation to attack grease with harsh chemicals.
- Weekly (5–10 minutes): wipe high-touch spots, especially pulls, lower doors, and the cabinet by the trash.
- Monthly: clean exterior doors and frames, spot-treat grease, quick interior crumb vacuum.
- Seasonal: full interior wipe, shelf corners, door edges, and a check for leaks under the sink area.
Common Mistakes That Cause Damage (and What to Do Instead)
Cabinets get expensive fast, so it’s worth avoiding the usual “Pinterest cleaning hacks” that can backfire. According to the Environmental Protection Agency (EPA), it’s often safest to start with mild soap and water before moving to stronger products, and to use cleaners exactly as the label directs.
- Soaking doors or spraying directly into seams: spray onto the cloth instead, then wipe and dry.
- Using abrasive pads on paint or gloss: switch to microfiber and a non-scratch sponge.
- Leaving cleaner to “sit” everywhere: spot-treat only, and keep dwell time short for finished surfaces.
- Skipping the rinse wipe: soap residue attracts dirt and creates haze, a water wipe prevents that.
- Steam cleaning cabinet fronts: heat and moisture can loosen adhesives, especially on thermofoil.
When It’s Time to Get Professional Help (or Replace Parts)
How to clean kitchen cabinets outside and inside has limits, and it’s not your fault when the issue is structural. If you see persistent tackiness after gentle cleaning, swollen edges, or peeling finish, you may be dealing with water intrusion, failing topcoat, or adhesive breakdown.
- Doors feel rough, sticky, or soft even after drying: consider a cabinet refinisher’s opinion.
- Thermofoil lifting near the oven: heat damage often needs repair or replacement.
- Mold concerns under the sink: cleaning may help, but you may also need a plumber to address leaks, and in some cases a mold professional if growth is extensive.
- Strong chemical sensitivity at home: it can be worth asking a cleaning service about low-odor, surface-safe options.
Key Takeaways + A Simple Next Step
Key points: Keep water minimal, clean grease with gentle repeat passes, rinse and dry to prevent haze, and match products to your cabinet finish. If you want a low-effort win today, wipe pulls and the cabinet area around the stove, then dry-buff, it’s where most kitchens look “dirty” first.
If you’re planning a deeper reset this weekend, pick one zone, upper cabinets or lowers, and finish it completely, inside included. That’s usually more satisfying than doing half the kitchen and running out of energy.
FAQ
- What is the best thing to use to clean kitchen cabinets?
In many homes, warm water with a small amount of dish soap works well and is low-risk for most finishes, as long as you rinse-wipe and dry right away. For stubborn grease, a finish-safe cleaner can help, but test first. - Can I use vinegar to clean cabinet doors?
Sometimes, but it depends on the finish. Vinegar is acidic and may dull certain coatings over time, so many people reserve it for limited spot use on compatible surfaces and still rinse and dry. When in doubt, stick with mild soap and water. - How do I remove sticky grease from kitchen cabinets?
Use a warm, damp cloth to soften the residue, then wipe with mild soapy water in a couple short passes. If it’s still sticky, use a small amount of a surface-safe degreaser, then rinse-wipe and dry to avoid streaks. - How often should you clean inside kitchen cabinets?
Many households do a light interior clean seasonally, and a quick crumb vacuum more often. If you store oils, spices, or kid snacks inside, you may want a monthly quick check for leaks and crumbs. - Is it safe to use Magic Eraser on kitchen cabinets?
It can work, but it’s mildly abrasive and may change sheen on painted or glossy cabinets. If you try it, test in a hidden area and use very light pressure, then stop if you see dulling. - Why do my cabinets look streaky after cleaning?
Usually it’s leftover soap or too much product, plus not enough drying. Use a clean damp cloth to rinse, then buff dry with microfiber, and avoid letting cleaner air-dry on the surface. - What should I avoid using on wood cabinets?
Avoid soaking the wood, steam, and harsh abrasives. Strong solvents can also soften finishes. Gentle cleaners, light moisture, and quick drying are typically safer for sealed wood.
If you’re trying to keep cabinets clean with less trial-and-error, a simple approach is to standardize your kit: microfiber cloths, a mild soap mix, and one finish-safe cleaner for grease zones, then stick to the same steps each time so results stay predictable.